
Last updated September 24, 2026
Seasonal Insulation Care for Mountain View: Year-Round Homeowner’s Guide
Mountain View averages 15 inches of rainfall compressed into roughly four months, and most of that moisture doesn’t enter through the roof - it enters through the attic bypasses that good air sealing would have closed. A poorly sealed attic in January is pulling humid exterior air across the insulation every time the HVAC system depressurizes the living space. The Bay Area’s marine climate doesn’t punish homeowners with the obvious seasonal drama of snow country, but that same moderation hides a quieter problem: four distinct annual stressors - winter moisture infiltration, spring pest pressure, summer radiant gain, and fall HVAC startup - each degrade the insulation assembly in a different way, and most homeowners notice only after the damage compounds across several years. This guide - alongside our The Complete Guide to Insulation in Mountain View - maps one concrete action per quarter to the actual threat that quarter presents, with specific measurements and verification steps.ents you can record yourself and the documentation a professional should provide if you hire out.
Quick Answer
Seasonal insulation care in Mountain View means four targeted tasks per year: winter air-sealing inspection for moisture intrusion through attic bypasses, spring pest and compression damage assessment after nesting season, summer radiant barrier evaluation for south-facing roof decks, and fall pre-heating verification of insulation depth and HVAC duct connections. Most 1960s-1990s tract homes in neighborhoods like Monta Loma, Rex Manor, and The Crossings benefit from our Attic Insulation Maintenance Checklist for Mountain View Homeowners because the original insulation has settled and the air sealing was minimal or absent at construction.
Table of Contents
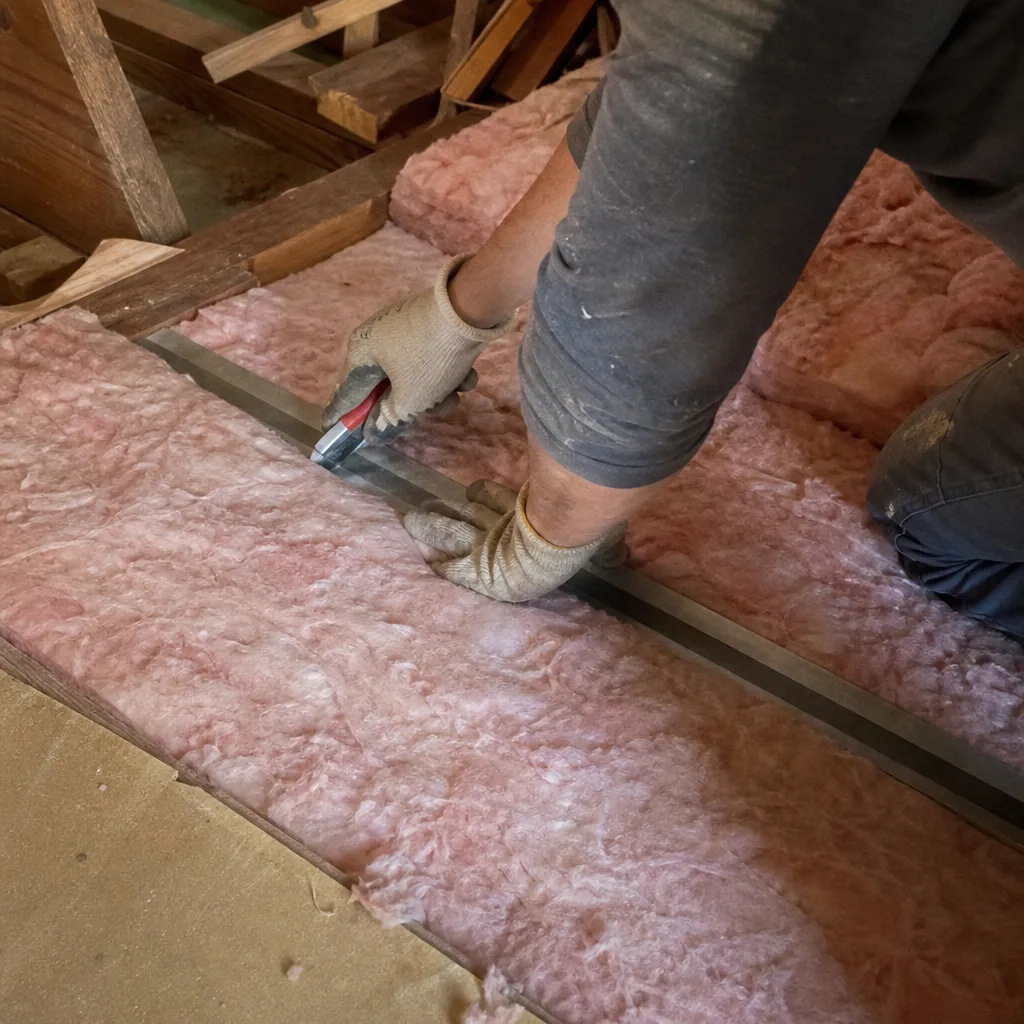
- Winter (November-February): Stop Moisture Before It Saturates
- Spring (March-May): Inspect for Pest Damage and Compression
- Summer (June-August): Manage Radiant Heat Beyond R-Value
- Fall (September-October): Verify Before the Heating Season Starts
- Your Seasonal Log Template: Build a Multi-Year Record
- Common Mistakes to Avoid
- When to Call a Professional
- Frequently Asked Questions
Winter (November-February): Stop Moisture Before It Saturates
The Stack Effect in Mountain View’s Mild, Wet Winters
The stack effect - the natural rise of warm interior air and its escape through upper-level leaks - doesn’t require subzero temperatures to operate. In Mountain View, where January lows hover in the low 40s and interior heating runs intermittently, the temperature differential is smaller than in cold climates but persistent enough to drive significant air exchange. Warm air exits through attic bypasses: gaps around chimney chases, plumbing vent stacks, electrical penetrations, and the top plates of framed walls. That lost volume is replaced by exterior air drawn in at the foundation, crawl space, and lower-wall leaks. In winter, that replacement air carries moisture from rain-soaked soil, saturated landscaping, and the high relative humidity that follows Pacific storm systems.
Here’s the mechanism that damages insulation: humid replacement air migrates into the attic through pathways that bypass the insulation layer. When it contacts cold roof sheathing or uninsulated ductwork, it condenses. Fiberglass batts - the dominant original insulation in Mountain View’s 1960s and 1970s subdivisions - lose effective R-value when even slightly damp. Cellulose, which performs better when dense-packed, can slump or support mold growth if saturated. The damage is rarely visible from the attic hatch because it starts at the perimeter, where roof deck temperature is lowest.
One Observable Indicator Homeowners Can Check
After a three-day rainy period, inspect the attic early on the first clear morning before the roof warms. Look for these specific patterns:
- Frost crystals on the attic floor or top of insulation - indicates warm, moist air is reaching a cold surface and depositing moisture before it can vent.
- Dark staining on the north-facing roof deck - the slowest-warming surface, where condensation lingers longest.
- Water droplets on exposed ductwork - a sign that attic air is humid enough to condense on metal surfaces at winter morning temperatures.
- Insulation that appears darker or matted in a strip along the eaves - suggests wind-washing, where incoming air is moving through rather than over the insulation.
If you observe any of these, the air sealing was inadequate or has failed. The fix is not more insulation; it’s sealing the bypasses first, then verifying with a blower-door test - a pressurization reading that shows, in one number, how much air your building envelope is losing. At Envelope Insulation Co., we’ve seen homes in the Springer Ranch area read 4,200 CFM50 before sealing and 2,100 after top-plate and penetration sealing alone. The homeowner receives those numbers in writing, with a documented photo record of every sealed location.
Winter Action: The 30-Minute Bypass Survey
- From the attic hatch, move toward the eaves with a flashlight. Do not step on the ceiling drywall - walk only on joists or lay a plywood walking board.
- Identify every penetration: plumbing vents (white PVC or black ABS), electrical cables, recessed light housings, chimney framing, and any framed wall top plate visible above the insulation.
- Look for gaps larger than 1/4 inch, which is the threshold where meaningful air movement occurs.
- Photograph each location with your phone, with a reference object for scale.
- Record in your seasonal log: date, outside temperature, indoor temperature, and any moisture indicators observed.
Do not attempt to seal around active chimney flues or recessed lights rated as non-IC (insulation contact) - these require fire-rated materials and professional assessment. A trained technician uses fire-resistant caulk, rigid foam sealed with intumescent sealant, and metal flashing where required by California Building Code Chapter 7A.
Spring (March-May): Inspect for Pest Damage and Compression
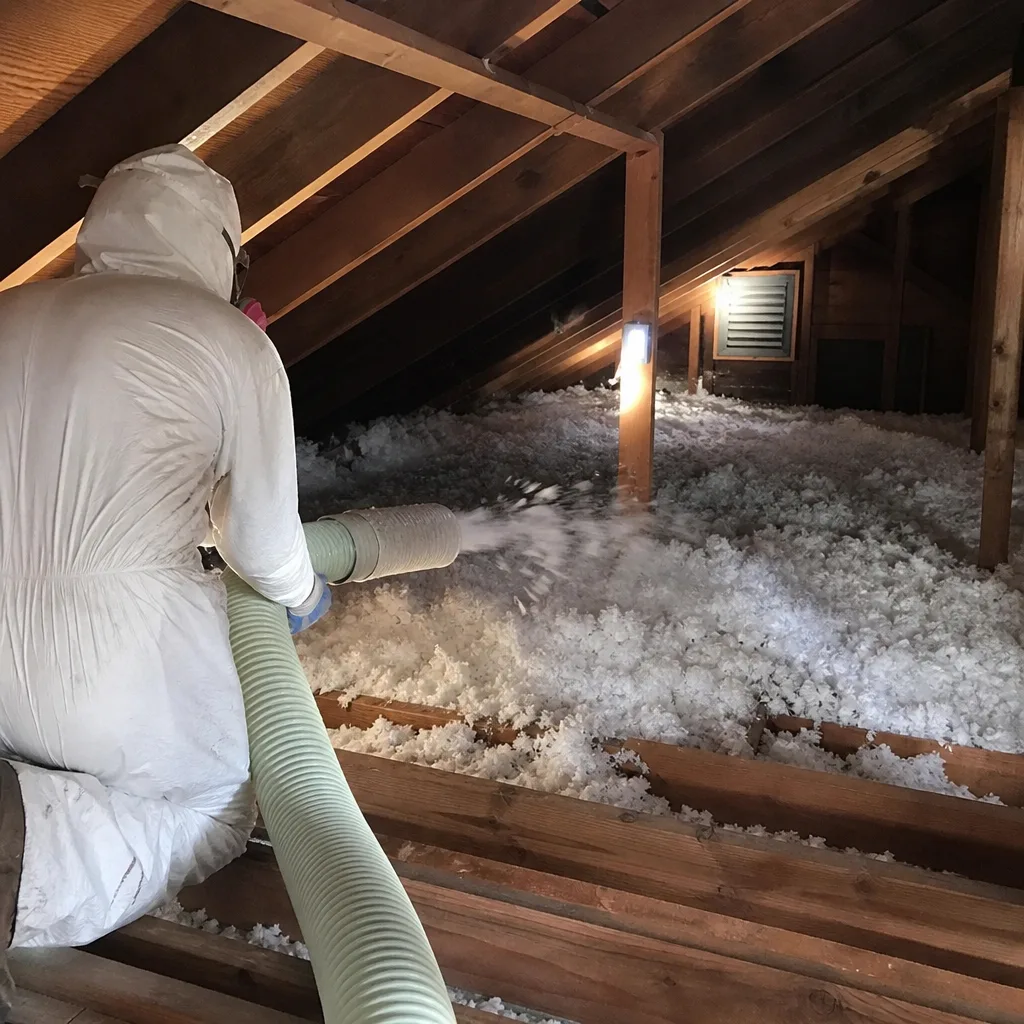
Why Spring Nesting Pressure Peaks in Mountain View
March through May brings the highest squirrel and roof rat activity in Santa Clara County. The western gray squirrel and the native roof rat - not a true rat but a tree-dwelling species - begin breeding cycles that drive females to seek enclosed, elevated spaces. An attic with unsealed eave gaps, deteriorated fascia, or missing vent screens offers exactly what they need: protection from predators, stable temperature, and nesting material in the form of fiberglass or cellulose insulation.
Mountain View’s mature tree canopy, particularly in older neighborhoods like Old Mountain View and the blocks near Rengstorff Park, provides continuous aerial highways to rooflines. A squirrel can bridge from a coast live oak to a roof eave in a single leap if branches are within eight feet. Once inside, they compress insulation to create nesting cavities, introduce moisture through urine, and scatter feces that degrades air quality.
Specific Entry Points in Typical 1960s Tract Homes
We’ve documented entry patterns across thousands of Bay Area attic inspections. In Mountain View’s ranch-style and split-level stock, these locations predominate:
- Corner eave returns - the triangular space where a gable roof meets the fascia board, often open behind a decorative vent that lacks hardware cloth backing.
- Plumbing vent pipe penetrations - the rubber boot flashing deteriorates in 15-20 years; squirrels chew the softened material.
- Attic fan or power ventilator openings - louvers that lack 1/4-inch hardware cloth on the interior side.
- Frieze board gaps - the horizontal board between the top of the siding and the soffit, which shrinks and gaps as original cedar or redwood ages.
- Chimney chase framing - the gap between masonry and surrounding wood framing, often 1-2 inches, hidden by trim.
Early-Stage Compression Damage: What to Look For
Compression damage is reversible if caught before the insulation structure collapses or becomes contaminated. In spring, after nesting season peaks but before summer heat drives you out of the attic, perform this inspection:
- At the attic hatch, measure insulation depth at three points: center of attic, north eave, and south eave. Record each to the nearest inch.
- Walk the attic (on joists or boards) and look for circular depressions 8-14 inches in diameter - typical squirrel nest dimensions.
- Check for tunnels through blown-in material: a linear path of compressed insulation with disturbed surface texture.
- Look for discoloration: yellowed fiberglass indicates urine exposure; dark specks concentrated in one area suggest fecal accumulation.
- Inspect for fresh gnawing on wood members - parallel tooth marks 1/16 inch apart, with wood shavings below.
If you find active nesting material with young present, do not disturb it - contact a wildlife removal specialist first. After eviction and exclusion, the damaged insulation section should be removed, the substrate sanitized, and replacement installed to match original depth and density. At Envelope Insulation Co., we include rodent-proofing of accessible entry points as part of any attic insulation in Mountain View replacement job, with before-and-after photos of each sealed location in the documented photo record.
Summer (June-August): Manage Radiant Heat Beyond R-Value
Quantifying the Roof Deck Problem
On a 100°F day in Mountain View - uncommon but increasing in frequency - a dark asphalt shingle roof on a south-facing pitch can reach 160-180°F surface temperature. That heat doesn’t primarily enter the living space by conduction through the insulation; it radiates across the attic air gap to the insulation surface, the attic floor, and any ductwork present. R-value measures conductive resistance, not radiant heat transfer. A deep layer of Owens Corning or Johns Manville fiberglass with excellent R-value will still allow radiant heat to warm the attic environment, forcing the HVAC system to overcome that thermal load.
In homes we’ve audited in the Waverly Park and Blossom Valley areas, summer afternoon attic temperatures regularly exceed 130°F even with R-38 insulation. The conditioned air moving through flex duct at 55°F gains 10-15°F before reaching the register. The homeowner pays to cool air that the attic reheats.
What Radiant Barriers Do, and Where They Help
A radiant barrier is a low-emissivity surface - typically aluminum foil laminated to kraft paper or oriented strand board - installed on the attic side of the roof deck or draped over rafters. It reflects radiant heat back toward the roof deck rather than absorbing and reradiating it downward. The Department of Energy documents radiant barrier effectiveness in hot climates at 5-10% cooling load reduction when properly installed.
Radiant barriers provide measurable benefit in Mountain View when:
- The roof has significant south or west exposure with dark shingles or tiles.
- HVAC ductwork runs through the attic rather than through conditioned space.
- The attic is ventilated but not heavily used for storage (storage items block barrier effectiveness).
- The roof deck is accessible for installation without removing roofing material.
Radiant barriers provide minimal benefit when:
- The roof is light-colored tile or metal with high solar reflectance already.
- The attic floor is fully encapsulated with spray foam against the roof deck (the foam itself is the barrier).
- The home has minimal cooling load - no central AC, or cooling degree-days below local average.
Summer Action: The Radiant Heat Assessment
- On a sunny afternoon after 2 p.m., place a thermometer on the attic floor and record the temperature. Simultaneously record the outdoor shade temperature.
- Inspect the roof deck from inside: note color, material, and whether any existing radiant barrier is present and intact.
- Trace all HVAC ductwork: note flex duct versus rigid, insulation condition, and whether any runs lie directly against the roof deck or near the ridge.
- Record in your seasonal log: attic temperature, outdoor temperature, ductwork type, and any radiant barrier present.
For homes where radiant gain is the dominant summer load, we often recommend spray foam insulation in Mountain View applied to the underside of the roof deck as an alternative. This converts the attic to conditioned space, eliminates radiant heat transfer to the insulation layer entirely, and typically delivers the largest blower-door improvement of any single measure. The tradeoff is higher upfront cost versus a reflective barrier; we provide written pricing for both approaches before any work starts, under Haven Standard Clause 1.
Fall (September-October): Verify Before the Heating Season Starts
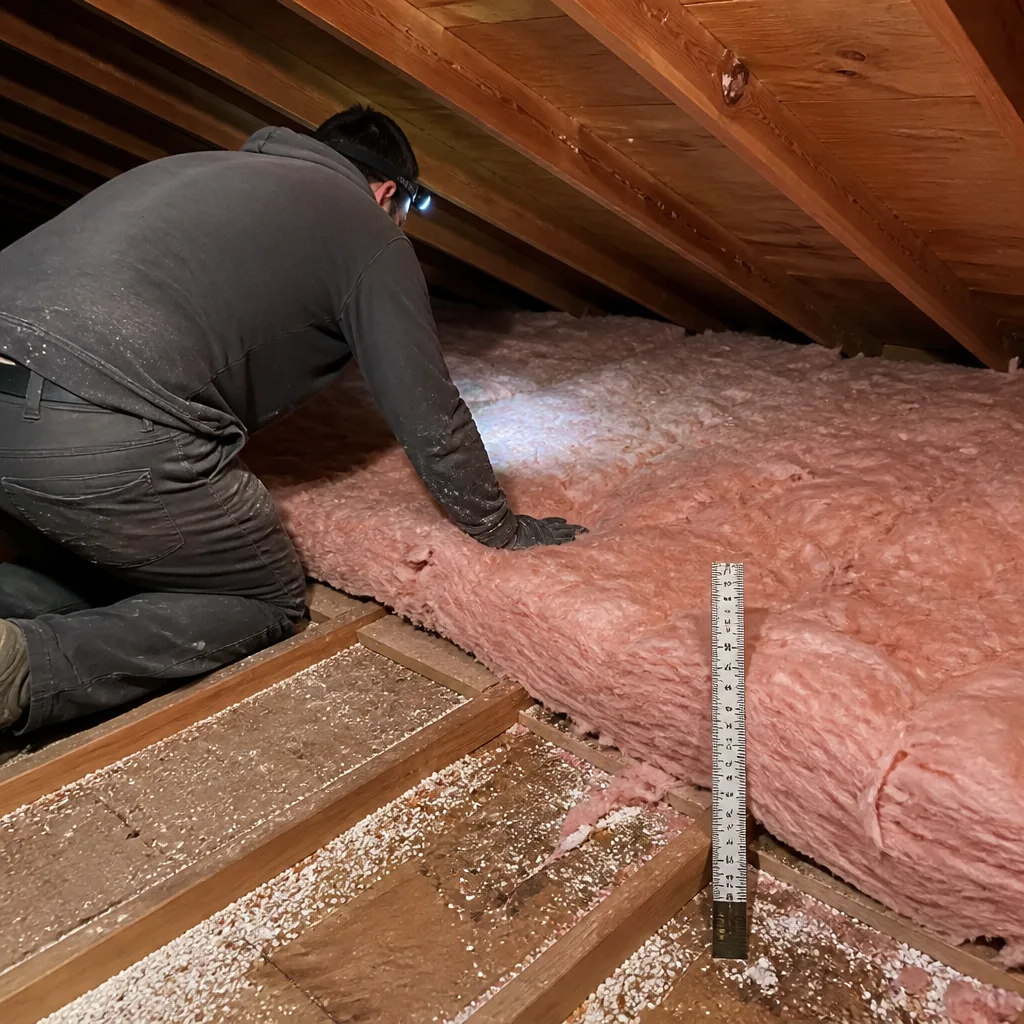
The 45-Minute Pre-Heating Attic Check
Most Mountain View homeowners don’t think about insulation until the first PG&E bill of the heating season arrives. By then, any problems have been operating for weeks. The fall check is designed to catch depth loss, duct disconnection, and exhaust fan mistermination before they cost money through November and December.
Step-by-Step Fall Verification
- Depth verification at three points. Use a yardstick or dedicated insulation ruler. Measure at: the attic center (highest point, least disturbed), the north eave (most prone to wind-washing and settling), and a location near the attic hatch (most frequently walked, often compressed). Record each measurement. For fiberglass batts, target minimum 12 inches (R-38). For blown cellulose, target 10-12 inches settled depth (R-38-R-44). For mineral wool like Rockwool, 10 inches achieves R-38. If any measurement is 20% below target, add or replace is warranted.
- HVAC duct connection inspection. With the system running in heating mode, move through the attic and place your hand near each flex duct connection to the metal trunk line or plenum. Feel for warm air escaping at the clamped joint - a sign the seal has degraded. Inspect flex duct for kinks, crushing from storage items, or sagging that creates low points where condensation collects. Rigid duct connections should show no visible gaps at seams or corners.
- Bathroom exhaust fan termination check. This is the most commonly missed failure mode we find in Mountain View homes. A bathroom fan duct that terminates in the attic rather than through the roof or gable end dumps moist air directly onto insulation. Trace each fan’s flex duct from the housing to its terminus. It must exit the attic envelope entirely. If it ends in a pile of insulation or simply blows into open attic air, the moisture load is silently degrading your R-value and potentially supporting mold. The fix is extending the duct to a proper roof jack or gable vent with a backdraft damper.
- Record and compare. Enter all measurements in your seasonal log alongside prior years’ entries. Trending depth loss of more than 1 inch per year indicates settling, pest activity, or moisture degradation that warrants professional assessment.
When Fall Checks Reveal Pre-Existing Problems
Many Mountain View homes built 1955-1985 have original insulation with no air sealing, bathroom fans venting to attic, and knob-and-tube wiring that prevents dense-packing without electrical upgrade. The fall check is often the moment homeowners confront that incremental fixes won’t suffice. In these cases, we recommend a full home energy audit - including blower-door test, infrared camera survey, and combustion safety check - with written findings and prioritized scope. Every audit we perform includes the documented photo record and written price before any work starts, per Haven Standard.
Your Seasonal Log Template: Build a Multi-Year Record
Memory is unreliable; written records reveal patterns. We’ve designed this one-page template based on the fields we use in our own documentation. Print four copies per year, or maintain a spreadsheet.
Seasonal Insulation Log - Mountain View Home
| Field | Winter (Nov-Feb) | Spring (Mar-May) | Summer (Jun-Aug) | Fall (Sep-Oct) |
|---|---|---|---|---|
| Date inspected | ||||
| Outdoor temp (°F) | ||||
| Indoor temp (°F) | ||||
| Attic temp (°F) | N/A | N/A | N/A | |
| Insulation depth - center (in.) | ||||
| Insulation depth - north eave (in.) | ||||
| Insulation depth - south eave (in.) | ||||
| Moisture observed? (Y/N + describe) | ||||
| Pest evidence? (Y/N + describe) | ||||
| Duct leakage felt? (Y/N + location) | ||||
| Fan termination correct? (Y/N) | ||||
| Radiant barrier present? (Y/N + condition) | ||||
| Actions taken / notes |
After three years of entries, you’ll have data to answer questions no generic article can: Is your insulation degrading faster than neighbor averages? Did the 2023 El Niño winter produce measurable moisture that the 2024 season didn’t? Did a radiant barrier installation in 2025 show attic temperature reduction by 2026? This record also becomes valuable documentation if you sell - buyers and inspectors in Mountain View’s competitive market increasingly ask for energy performance history.
Common Mistakes to Avoid
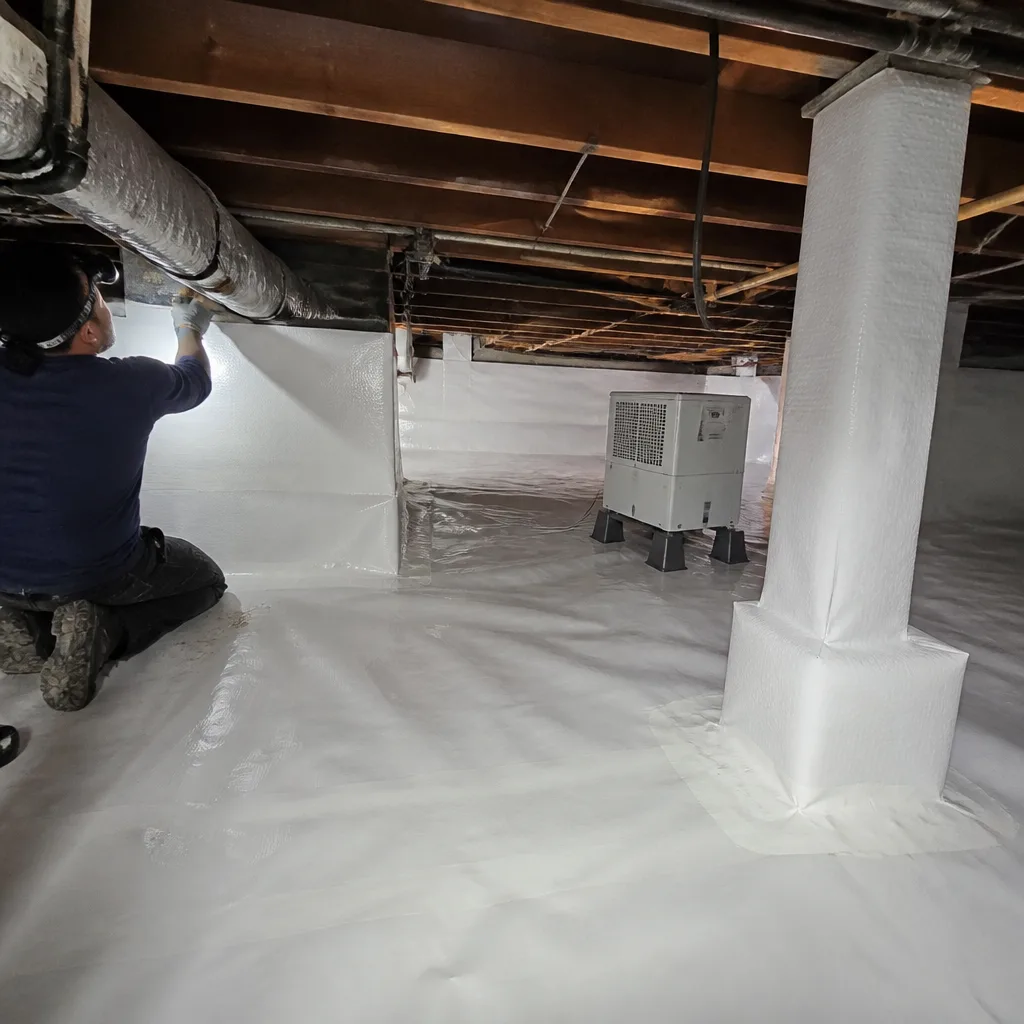
- Blowing new insulation over old without air sealing first. This is the most common error we correct in Mountain View attics. The new material simply buries the bypasses, making them harder to find later while moisture continues to migrate. Air sealing must precede insulation - always.
- Ignoring bathroom fan terminations. A fan venting into attic insulation creates a localized moisture zone that can destroy R-value in a 4-foot radius. The fix costs less than $200 in materials but is rarely caught until mold is visible or an inspector flags it at sale.
- Measuring insulation at only one point. Attic insulation is never uniform. Eaves settle, centers get walked on, and pest disturbance is localized. Single-point measurement gives false confidence.
- Adding radiant barrier without addressing duct leakage. A 130°F attic with leaky ducts defeats the barrier’s benefit; the reheated air enters regardless. Seal ducts first, then evaluate whether barrier addition is cost-effective.
- DIY spray foam application. Two-component polyurethane requires respiratory protection, precise temperature control, and fire-rated ignition barriers per California code. We’ve removed failed DIY foam that trapped moisture against roof sheathing and caused rot. This is not a homeowner task.
- Waiting for a high bill to investigate. By the time your PG&E bill spikes, the problem has operated for 6-8 weeks. Seasonal checks catch degradation at the margin, before it compounds.
- Trusting insulation depth alone as performance proxy. A 14-inch depth with extensive air leakage performs worse than 10 inches with comprehensive sealing. The blower-door number - CFM50 - is the single figure that captures the whole system’s performance.
When to Call a Professional
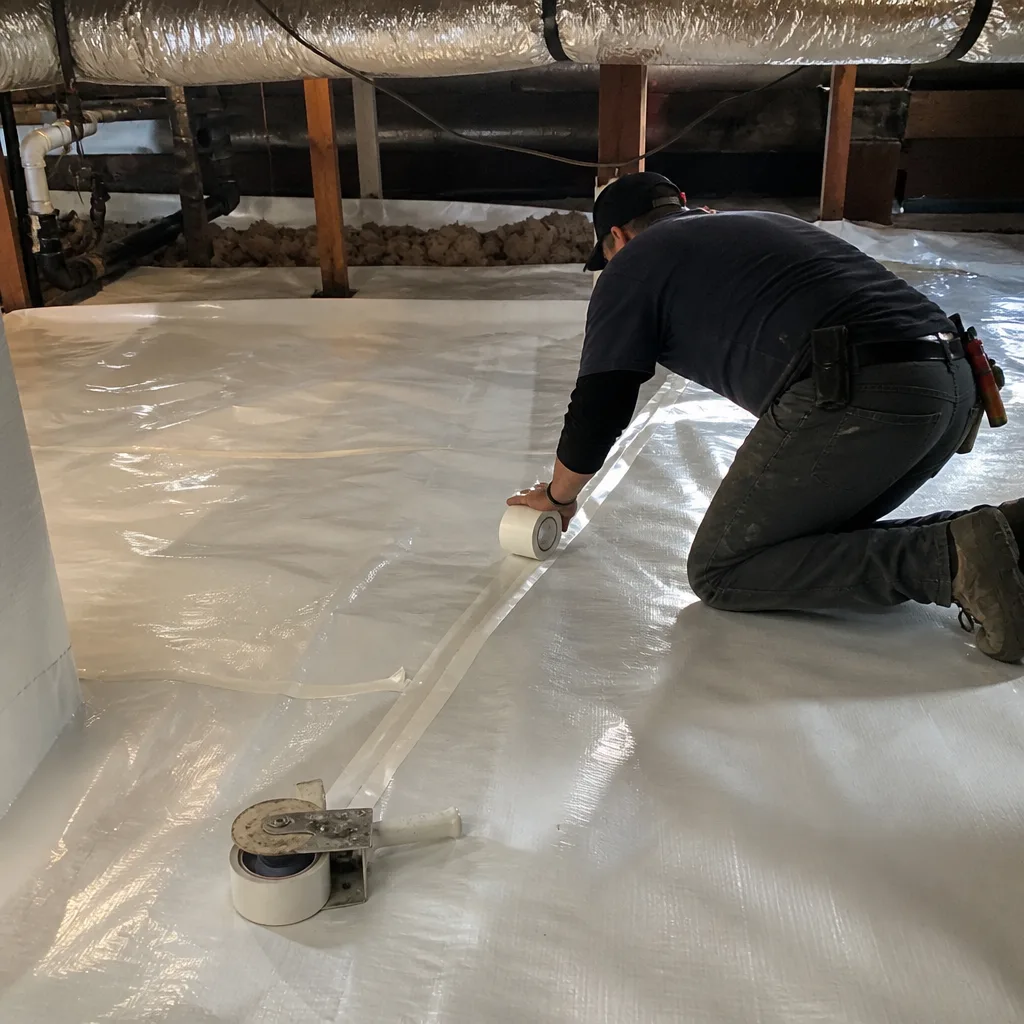
Call a professional when your seasonal log shows trending degradation, when you observe active moisture or pest contamination, or when you’re considering any material change - spray foam, dense-pack cellulose, or radiant barrier installation. Specific scenarios that warrant professional assessment: blower-door testing to establish a baseline before and after air sealing; insulation removal where pest contamination or moisture damage is extensive; spray foam application to roof deck or rim joist; and crawl space encapsulation where ground moisture is contributing to winter stack-effect humidity.
Topside Attic Insulation Mountain View offers free estimates in Mountain View - call (669) 259-0406. Every estimate includes a written price before any work starts, a documented photo record of conditions found, and on applicable jobs, before-and-after blower-door numbers so you can verify the air-sealing result. Our 365-Day Done Right Promise applies to all completed work, and a live person answers calls 24/7.
Frequently Asked Questions
Most attic insulation jobs in a Mountain View home of 1,200-2,000 square feet run between $2,800 and $6,500, depending on whether air sealing is required first, the insulation type, and accessibility. Blown-in fiberglass or cellulose with comprehensive air sealing typically falls in the $3,500-$5,000 range. Spray foam to the roof deck runs higher due to material cost and ignition barrier requirements. We provide a written price before any work starts - no exceptions - and offer a free second opinion on any written estimate you’ve received. Call (669) 259-0406 for an exact quote for your home.
Homeowners can safely add unfaced fiberglass batts or blown-in material over existing insulation if the attic has safe walking surfaces, no active knob-and-tube wiring, and no pest or moisture contamination. However, air sealing - the prerequisite step that determines whether new insulation performs - requires knowledge of fire-rated materials, combustion safety, and pressure diagnostics that most homeowners don’t have, as explained in our DIY vs Professional Insulation: The Mountain View Homeowner’s Decision Guide. If your fall check reveals bypasses, moisture, or wiring concerns, professional assessment is warranted. We document every sealed location with photos and provide the blower-door verification.
Properly installed, dry insulation in a well-sealed attic lasts 20-30 years. In Mountain View’s actual conditions - with marine moisture, pest pressure, and original construction that lacked air sealing - we find significant degradation at 10-15 years in homes built before 1990. The seasonal log reveals your home’s specific trajectory; don’t rely on age alone. We’ve seen 1970s insulation performing adequately in a sealed attic, and 2010s insulation ruined by an unsealed bypass and squirrel damage.
Spray foam justifies its premium when the attic contains HVAC equipment or ductwork, when the roof deck configuration makes radiant barriers impractical, or when the homeowner plans to use the attic for storage and wants conditioned space. In homes with simple gable roofs, minimal ductwork, and no storage need, blown-in fiberglass or cellulose with excellent air sealing often delivers comparable blower-door results at lower cost. We provide written pricing for both approaches so you can compare.
Mountain View follows the 2022 California Energy Code (Title 24, Part 6), which mandates minimum R-38 for attic insulation in climate zone 4 (most of Santa Clara County). New construction and significant alterations must meet this; existing homes are not required to upgrade unless triggering a permit for other work. However, many Mountain View homes built 1960-1990 have R-19 or less. The code also requires ignition barriers for spray foam and fire-rated sealing around penetrations - requirements we meet on every job with materials from certified manufacturers like Owens Corning, Knauf, and Rockwool.
Depth and R-value are necessary but not sufficient. The most common cause we find in Mountain View is duct leakage or duct location in a superheated attic - the cooled air never reaches the register, or it gains 15°F crossing the attic. Second most common is air leakage from the attic into the conditioned space through recessed lights, attic access hatches, and top plates, which pressurizes the upper floor and drives conditioned air out. A blower-door test with infrared camera identifies which mechanism is dominant in your home.
Our audits include: blower-door test to measure envelope leakage; infrared thermography to locate missing insulation and air leaks; combustion safety testing for gas appliances; inspection of attic, crawl space, and accessible wall cavities; and a written report with prioritized recommendations, written pricing for each scope, and the documented photo record. The audit itself takes 2-3 hours. You receive the findings before any work is proposed, under Haven Standard Clause 1.
The Bottom Line
Mountain View’s mild climate obscures a genuine annual cycle of insulation stress: winter moisture driven by stack effect, spring pest compression, summer radiant gain, and fall HVAC startup that tests every weakness. The homeowner who treats insulation as a passive, install-once material pays for that assumption in degraded performance and higher bills. The homeowner who performs four targeted checks per year - and keeps a written record - catches problems at the margin and makes informed decisions about when to invest in professional improvement. The documentation matters as much as the inspection: photos, depth measurements, and blower-door numbers create an evidence trail that outlasts memory and protects your investment. Start with the fall check before the heating season, build your log, and explore more guides & resources to stay ahead of seasonal threats.
Written by Wes Okafor, Owner at Topside Attic Insulation Mountain View, serving Mountain View since 2016.