
Last updated September 24, 2026
Insulation Warning Signs: A Mountain View Homeowner’s Reference Guide
Here’s the pattern we’ve documented across 9,000 homes: the insulation failures that actually cost Mountain View homeowners money rarely announce themselves with mold blooms or skyrocketing PG&E bills. They’re quieter. An upstairs bedroom that runs 8°F warmer than the downstairs thermostat in August. Dark parallel lines on a ceiling that follow the rafters like a barcode. Winter moisture staining on eave soffits that gets blamed on the roof. These symptoms look like insulation problems, but the underlying cause is often air sealing failure, duct leakage, or thermal bridging - conditions that adding more blown fiberglass will not fix. This guide - along with our Complete Guide to Insulation in Mountain View - maps seven observable warning signs to their probable cause, with the specific numbers and visual patterns to look for.
Quick Answer
The warning signs of failing insulation in a Mountain View home include: temperature differentials of 8°F or more between floors, dark parallel lines on ceilings that track framing members, winter moisture staining on soffits, pest-compressed insulation with color change or debris inclusions, and combined gas-and-electric bills exceeding $180/month during mild months in homes under 1,600 square feet. Most of these symptoms trace to air sealing failure rather than insufficient insulation thickness, which is why a blower-door test - a pressurization reading that shows, in one number, how much conditioned air your building envelope is losing - is the diagnostic starting point. For a deeper look at what to check and when, see our Attic Insulation Maintenance Checklist for Mountain View Homeowners.
Table of Contents
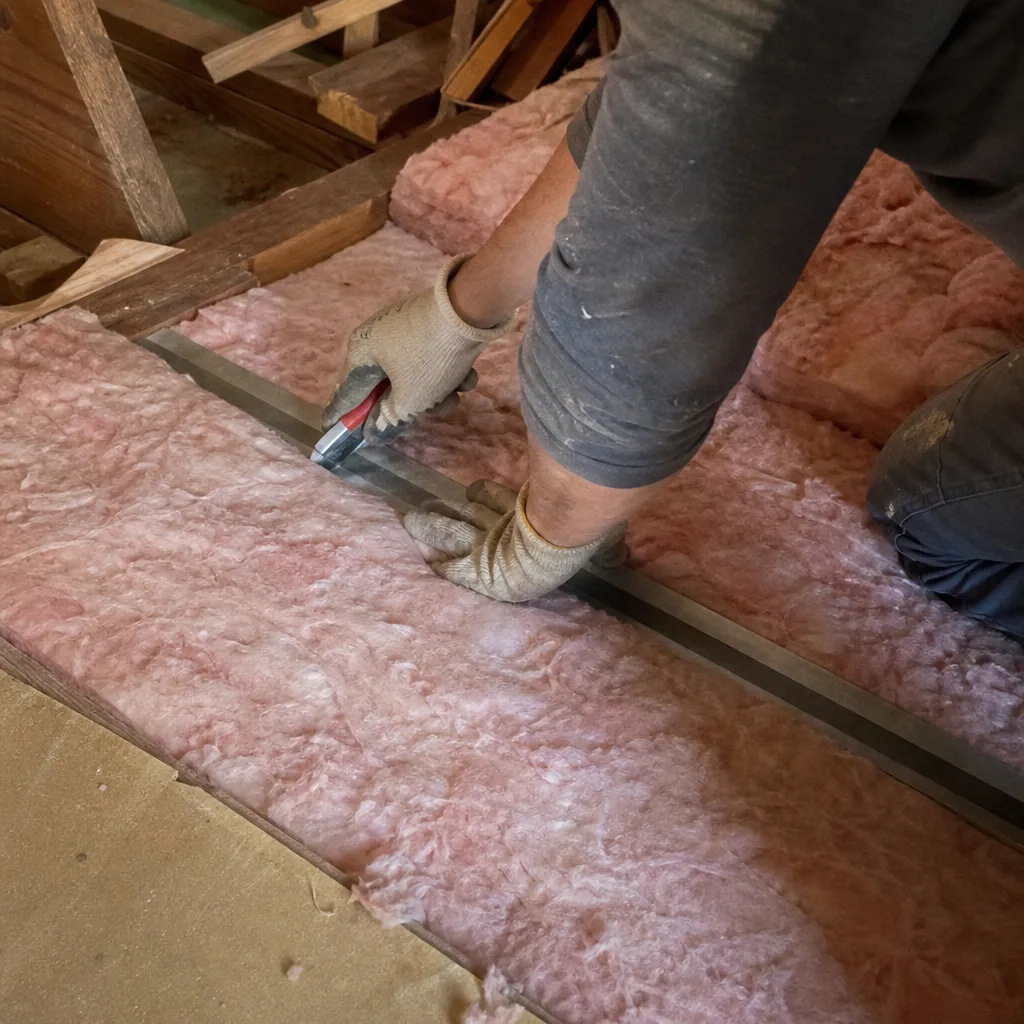
- The 8°F+ Temperature Differential: Mapping Floor-to-Floor Discomfort
- Thermal Bridging: Reading the Barcode on Your Ceiling
- Winter Soffit Staining in Mountain View’s Mild Climate
- The PG&E Baseline: When Bills Signal Envelope Failure
- Pest-Compressed Insulation vs. Normal Settling
- Duct Leakage: The Register-Pressure Test You Can Do
- Attic Bypasses and the Stack Effect
- Common Mistakes to Avoid
- When to Call a Professional
- Frequently Asked Questions
The 8°F+ Temperature Differential: Mapping Floor-to-Floor Discomfort
In Mountain View’s climate, a well-performing home should maintain roughly 3°F or less between the thermostat location and any occupied room. When we measure 8°F or more between upstairs and downstairs, the cause is almost never “not enough insulation” in the attic. The problem is ranked, in order of likelihood:
- Duct leakage in the attic. Supply ducts running through unconditioned attic space lose 20-40% of their delivered air to leaks at joints and connections. The upstairs never receives its design airflow, so the thermostat - typically downstairs - satisfies while the second floor overheats. In Mountain View’s 1950s-1970s ranch and split-level stock, flex duct from this era is often original and unsealed.
- Attic bypass stack effect. Warm air escapes through top plates, wire penetrations, and chimney chases, creating negative pressure that pulls conditioned air upward. The upstairs pressurizes; the downstairs depressurizes. The temperature stratifies.
- Insufficient return air path. Many Mountain View homes were built with a single central return. Bedrooms with doors closed starve for return air, creating pressure imbalances that exacerbate the stack effect.
Before calling any contractor, perform the tissue test: hold a single ply of toilet paper against a supply register with the system running. It should cling firmly. Weak adhesion or a register that barely holds the tissue suggests duct leakage or undersized supply. Then check the return: close the bedroom door and feel for air pulling under the door. No airflow means no return path, and no amount of attic insulation will fix that.
We’ve documented this sequence in Mountain View’s Monta Loma neighborhood, where post-war ranches with original ductwork commonly show 10-12°F differentials. The blower-door reading before work starts typically runs 3,500-4,500 CFM50. After sealing top plates with fire-rated caulk, sealing duct connections with mastic, and adding jumper ducts or transfer grilles, the differential drops to 3-4°F and the blower-door reading falls by 30-50%. The insulation itself - often original R-19 batts - was never the limiting factor.
Attic Insulation in Mountain View must be preceded by this diagnostic, or you’re paying for material that won’t change your comfort.
Thermal Bridging: Reading the Barcode on Your Ceiling
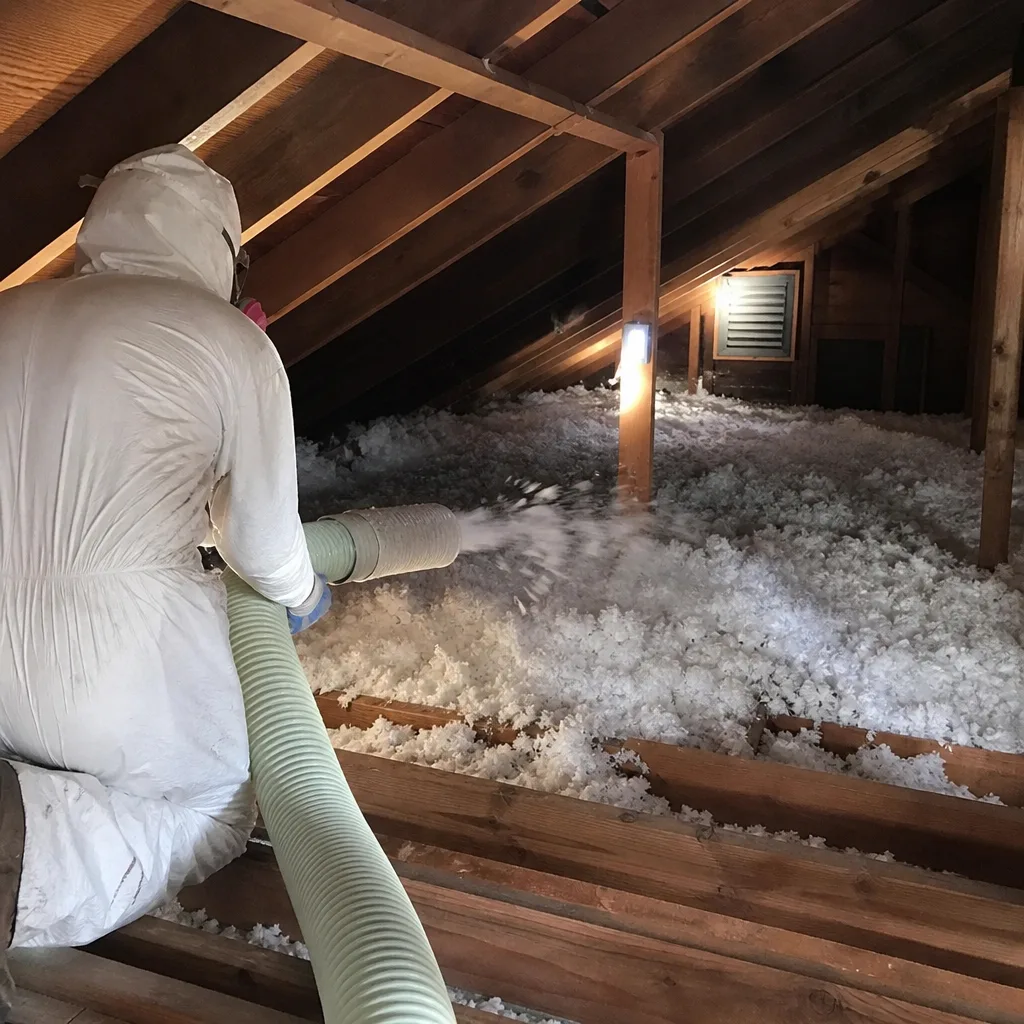
Thermal bridging occurs when a conductive material - typically wood framing - creates a path for heat to bypass the insulation layer. In finished ceilings and walls, this produces a visible pattern: dark parallel lines, evenly spaced at 16 or 24 inches on center, that follow the framing members beneath the drywall. Homeowners often mistake this for water damage or ghosting from candles. It’s neither. It’s the thermal image made visible.
Here’s the mechanism. In winter, the framing members - studs, joists, rafters - are in direct contact with both the warm interior and the cold exterior sheathing. At R-1.25 per inch, a 2×10 rafter conducts heat far faster than the R-30 or R-38 insulation between it. The interior surface of the drywall over the framing runs cooler than the surface over the insulated bays. Cooler surface temperature means higher relative humidity at that exact location. Over time, airborne dust and particulates adhere to these cooler strips, darkening them in a precise pattern that maps your structure.
The critical point: this pattern means your assembly is performing below its rated R-value even if the insulation itself is intact, dry, and properly installed. A ceiling framed with 2×10 joists at 16 inches on center, filled with R-30 batts, performs not at R-30 but at roughly R-22-R-24 when the bridging factor is calculated. In Mountain View’s older homes with balloon framing or uninsulated rim joists, the effect is more pronounced.
Remedies depend on access. In an open attic, we can add cross-layer insulation - perpendicular to the joists - or use spray foam to create a continuous thermal barrier. In finished spaces, the options narrow to exterior rigid foam retrofits or, in comprehensive remodels, dense-pack cellulose with strategic framing modifications. We specify Owens Corning or Johns Manville products for these applications based on the assembly and the homeowner’s performance target, with before-and-after blower-door numbers to verify that the thermal improvement isn’t undermined by persistent air leakage.
Winter Soffit Staining in Mountain View’s Mild Climate
Mountain View doesn’t produce true ice dams. Our 500-550 heating degree days and rare sustained freezes don’t build the snow load and melt-refreeze cycle that causes damming in Minneapolis or Boston. But homeowners here do find winter moisture staining on eave soffits, and too often they’re sold a roofing solution for what is fundamentally an insulation and air-sealing failure.
The pattern: dark staining or subtle water marks on the underside of the soffit, typically at the eave line, appearing in January or February and fading by April. The cause is warm, moist interior air escaping through the top plate - the horizontal framing member where the wall meets the ceiling - and condensing on the cold underside of the roof deck. In Mountain View’s climate, the roof deck doesn’t need to be below freezing; it only needs to be below the dew point of the escaping air, which happens regularly on clear winter nights when radiant cooling drops surface temperatures.
The diagnostic sequence is specific. First, inspect the attic floor at the eave perimeter. Original homes in Mountain View’s Old Mountain View and Blossom Valley neighborhoods often show a gap between the top plate and the drywall ceiling, or around plumbing vent stacks and electrical runs. These are attic bypasses. Second, check whether the insulation - typically original R-19 batts - fully covers the top plate or stops short, leaving a thermal short circuit. Third, look for bathroom exhaust fans or dryer vents terminating in the attic rather than through the roof or gable, dumping moist air directly onto the cold deck.
Roofing won’t fix this. Ventilation improvements help marginally. The solution is sealing: fire-rated caulk or foam at the top plate, proper venting of all exhaust to exterior, and insulation that extends fully to the eave without compression. We document this with photos before and after, and with blower-door readings that quantify the reduction in stack-effect-driven leakage.
Crawl Space Encapsulation & Vapor Barrier in Mountain View addresses the same principle at the lower boundary of the envelope - moisture management through air sealing, not just material addition.
The PG&E Baseline: When Bills Signal Envelope Failure
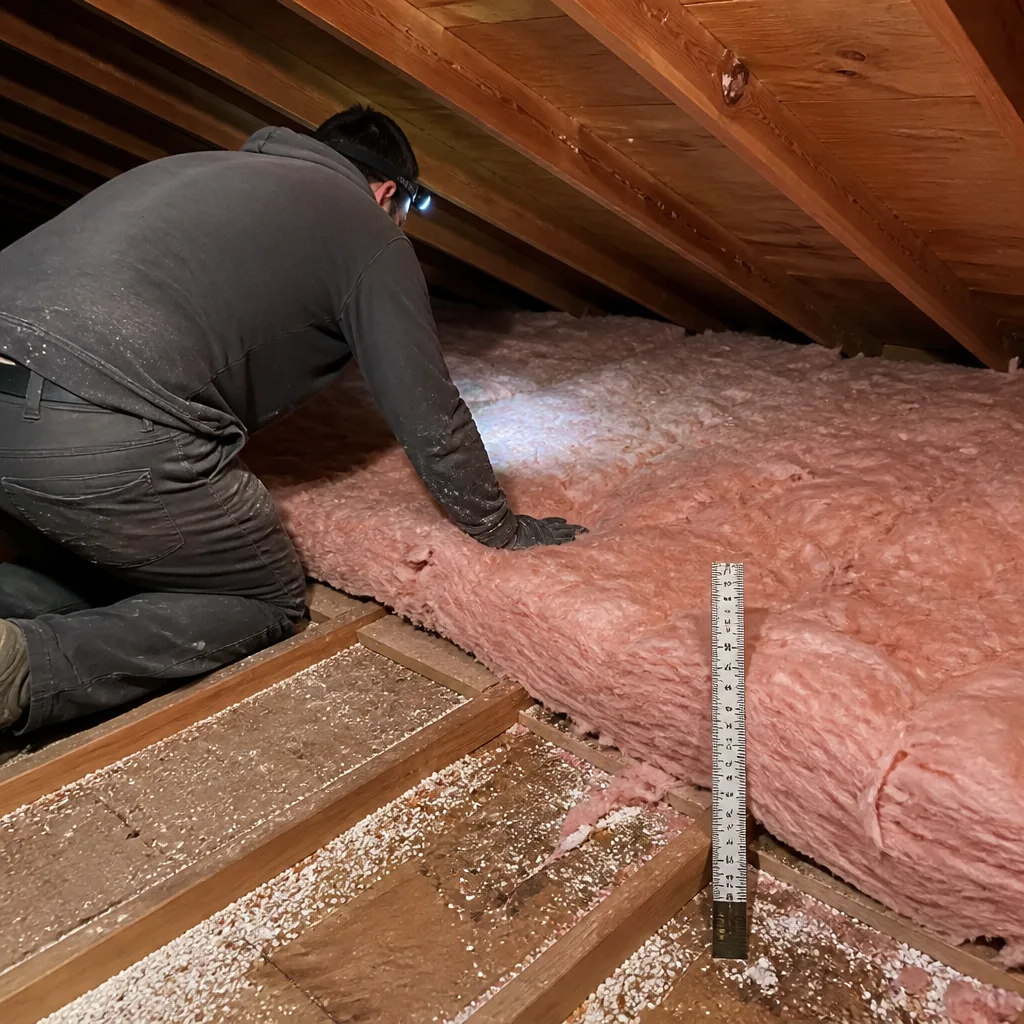
We’ve developed a specific benchmark for Mountain View homes based on 9,000 projects and local utility data. If your home is under 1,600 square feet and you’re spending more than $180 per month on combined gas and electricity during mild-weather months - May or October, when neither heating nor cooling loads are extreme - your envelope is almost certainly underperforming.
Here’s why those months matter. In July, a high bill could mean an aging air conditioner or poor thermostat management. In December, it could mean a gas furnace with a cracked heat exchanger or a water heater set to 140°F. But in May and October, when Mountain View’s temperatures sit in the 60s and low 70s, your HVAC system should be cycling minimally. A $180+ bill during these shoulder months indicates continuous thermal loss that the equipment is working to replace.
The neighborhood comparison sharpens the signal. PG&E’s Home Energy Report shows your usage relative to similar homes. If you’re consistently above the 75th percentile for your home size and vintage, the cause is structural. Common findings in our Mountain View audits:
- Original R-19 attic insulation compressed to R-13 or less
- Unsealed can lights creating direct attic bypasses (each recessed light without an airtight cover leaks approximately 2-4 CFM50)
- Missing or displaced crawl space insulation, particularly in homes with pier-and-beam foundations common in the 1950s-1960s
- Duct leakage in the attic averaging 25-35% of total airflow
We provide a free second opinion on any written estimate, and our audits include a written price before any work starts. The blower-door test gives a single figure - pre-work and post-work - that cuts through speculation about whether the investment will pay back.
Pest-Compressed Insulation vs. Normal Settling
All loose-fill insulation settles. Blown fiberglass loses 1-2% of its thickness in the first year as fibers align under gravity. Cellulose, particularly GreenFiber products we specify for certain Mountain View applications, settles 10-15% initially and then stabilizes. This is normal, accounted for in the installed thickness, and not a performance problem.
Pest compression is different, and it’s common in Mountain View’s mature neighborhoods where roof rats and tree squirrels have established territories. The visual markers are specific:
- Color change. Rodent urine and body oils yellow or darken insulation in discrete zones, often along travel paths near joists or near attic access points. The color change is patchy, not uniform.
- Matting direction. Normal settling produces even, horizontal compression. Pest traffic creates directional matting - fibers pressed into tunnels or nests with visible grain, like grass flattened by a path.
- Debris inclusions. Nesting material, food fragments, or droppings embedded in the insulation matrix. We find avocado pits, acorns, and even roof shingles in squirrel nests.
- Density variation. A zone that feels significantly firmer or looser than surrounding material, indicating localized compression or excavation.
The critical error is topping off without remediation. Adding new blown fiberglass or cellulose over a pest-compressed zone creates a layered system with a performance gap in the middle. The compressed layer - potentially R-6 or less in severe cases - remains conductive. The new layer above it performs at its rated value. The composite R-value is the average, dragged down by the damaged layer, and the thermal camera will still show the cold spot.
Our protocol: remove and dispose of contaminated insulation, sanitize the substrate, seal all entry points with rodent-proof materials, then install new insulation with a continuous thermal and air barrier. We document the removal with photos, show the sealed penetrations, and provide the blower-door reading to confirm the envelope is intact. This is standard under our 365-Day Done Right Promise - if the pests return through our work, we make it right.
Duct Leakage: The Register-Pressure Test You Can Do
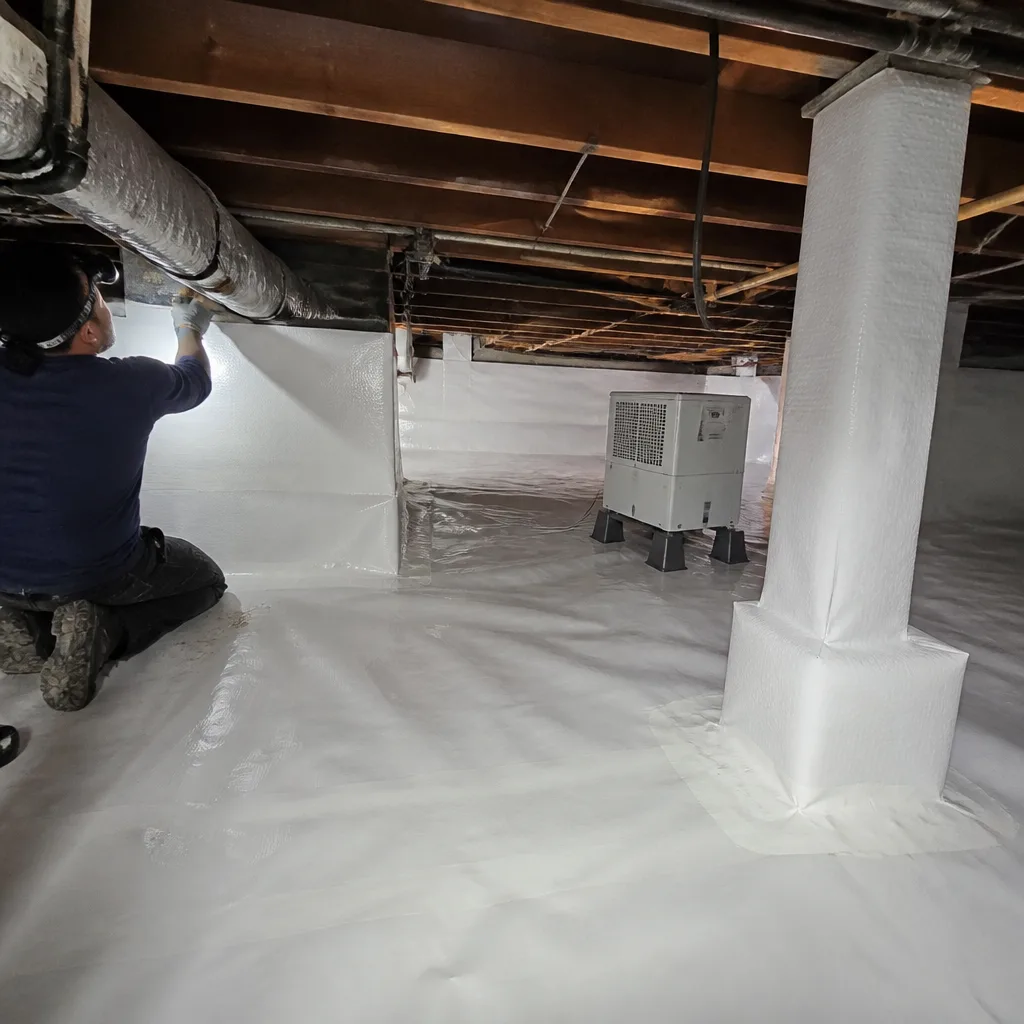
Duct leakage is the most common cause of the “insulation isn’t working” complaint we hear in Mountain View, and it’s the easiest to pre-diagnose. You need one ply of toilet paper and five minutes.
Step 1: Set your thermostat to fan-only mode so the air handler runs without heating or cooling. This isolates duct pressure from thermal effects.
Step 2: Hold a single ply of toilet paper against each supply register. It should cling firmly, with visible deflection. Weak adhesion or a register that won’t hold the tissue indicates low static pressure - usually from leakage upstream.
Step 3: Repeat with the system in heating mode. If adhesion weakens further, thermal expansion at duct joints is opening gaps that close when cool.
Step 4: Check bedroom doors closed versus open. With doors closed, tissue adhesion at hallway returns should increase slightly as the return path narrows. No change suggests the return system is not pulling from those rooms at all.
Step 5: Feel the air temperature at registers furthest from the air handler. In a leaky duct system, this air runs closer to attic temperature - 85-95°F in a Mountain View August - than to the conditioned air temperature.
We’ve measured supply duct leakage at 35-50% in original systems in Mountain View’s Castro City and The Crossings areas. The homeowner’s complaint: “The upstairs never cools down.” The proposed solution from others: more attic insulation. The actual solution: mastic-seal all duct connections, replace degraded flex duct, and verify with a duct blaster test - a calibrated fan that measures leakage to outside at 25 Pascals pressure.
Spray Foam Insulation in Mountain View can address this comprehensively when applied to the roofline, creating a conditioned attic where duct leakage is no longer leakage to outside. But the diagnostic comes first.
Attic Bypasses and the Stack Effect
The stack effect is the engine that drives invisible energy loss in most Mountain View homes. Warm air is less dense than cool air. In winter, heated air rises, creating positive pressure at the ceiling plane. If that ceiling has holes - and virtually all do - air escapes into the attic. The escaping air must be replaced, so cold air is pulled in at the lower levels: rim joists, crawl space vents, gaps under doors. The house is literally pumping conditioned air out the top and unconditioned air in the bottom.
The holes are rarely obvious. They’re the gaps around plumbing vent stacks where the pipe passes through the top plate. They’re the open chase around a chimney or flue. They’re the unsealed can lights, the wire penetrations, the drywall-to-top-plate joint that was never caulked. Each individual leak is small. Cumulatively, they sum to a hole the size of a window left open year-round.
We find this most severely in Mountain View’s Eichler and Eichler-influenced homes, where the flat or low-slope roof and open-beam ceiling eliminate the conventional attic. The roof deck becomes the air barrier by default, and any penetration - a vent, a light fixture, a former chimney location - is a direct path. In these homes, the stack effect runs laterally as well as vertically, with pressure gradients that standard insulation approaches cannot address.
The fix is air sealing, not more insulation. We use fire-rated caulk for small penetrations, rigid foam with fire-resistant coating for larger chases, and specialized covers for can lights. Every sealed point is photographed. The blower-door test quantifies the result: a typical Mountain View home starts at 3,000-5,000 CFM50 and achieves 1,500-2,500 CFM50 after comprehensive sealing, with comfort improvements that are immediately perceptible.
Topside Attic Insulation Mountain View home services begin with this understanding - the insulation is the thermal layer, but the air barrier is what makes it perform.
Common Mistakes to Avoid
- Blowing insulation over unsealed attic bypasses. This is the most common error we correct in Mountain View. New insulation hides the leaks but doesn’t stop them; the stack effect continues, and the homeowner gets no measurable comfort improvement for the investment.
- Assuming visible mold means “tear it all out.” Small, localized mold on sheathing often indicates a single point source - a bathroom vent terminating in the attic, a roof leak - that can be fixed without full insulation replacement. We photograph and test before recommending scope.
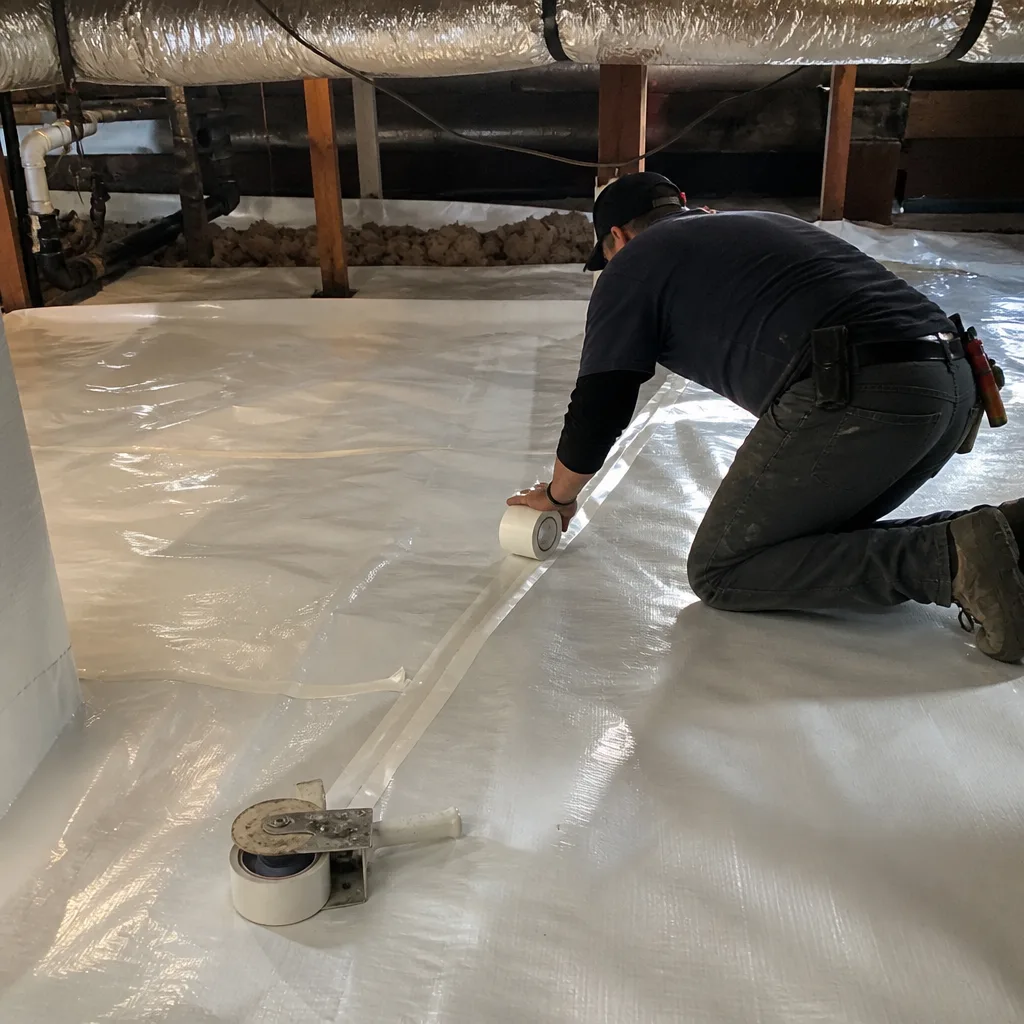
- Ignoring the crawl space while upgrading the attic. In Mountain View’s pier-and-beam and raised-foundation homes, an unsealed crawl space with missing or degraded insulation undermines attic work by providing the bottom entry point for stack-effect air. The envelope must be addressed as a system.
- Trusting “R-value” alone without installation quality. Compression, gaps, and voids reduce actual performance by 20-50%. We specify Demilec or Icynene spray foam for assemblies where batts or loose fill cannot achieve full contact, because continuous application eliminates these degradation modes.
- Replacing insulation without addressing the pest entry. New insulation over unsealed entry points becomes new nesting material within one season. Our protocol includes rodent-proofing with metal flashing and sealant before any insulation touches the space.
- Skipping the blower-door test. Without a pre-work number, you cannot verify improvement. We publish before-and-after readings on every applicable job because the number is the proof. A contractor who won’t measure cannot demonstrate results.
When to Call a Professional
For more guides & resources, explore our blog. Call when you’ve identified any of the patterns in this guide and want a diagnostic, not a sales pitch. Specifically: temperature differentials exceeding 8°F between floors, visible thermal bridging patterns on ceilings or walls, soffit staining that returns each winter, insulation with color change or directional matting, or combined utility bills above $180 in mild months for homes under 1,600 square feet.
Topside Attic Insulation Mountain View offers free estimates in Mountain View - call (669) 259-0406. Every estimate includes a written price before any work starts, a documented photo record, and on applicable jobs, before-and-after blower-door numbers. We do not start work without a signed scope and a flat price. That’s Haven Standard Clause 1.
Frequently Asked Questions
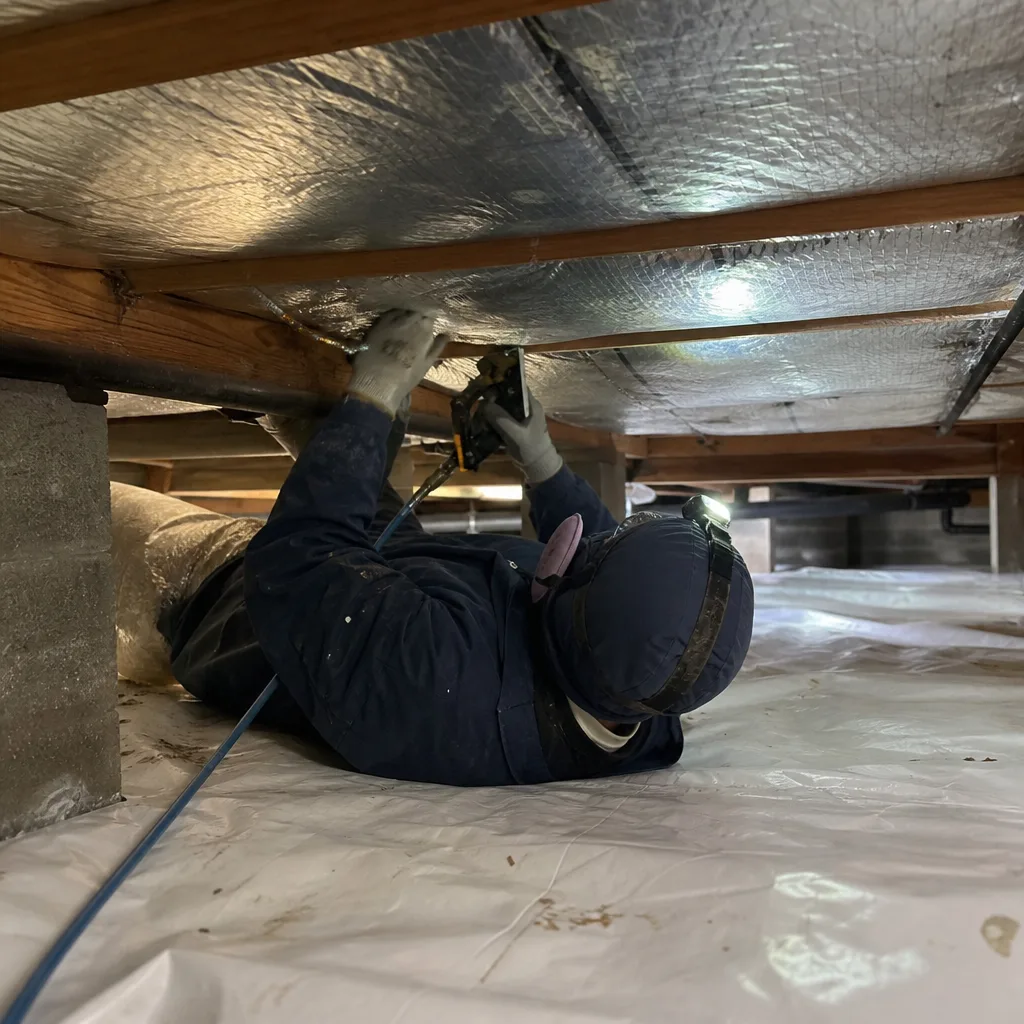
Most attic insulation replacement jobs in a Mountain View home between 1,200 and 2,000 square feet run between $3,200 and $6,800, depending on access, contamination level, and whether air sealing is included. Full removal, sanitization, and reinstallation with comprehensive sealing and blower-door verification sits at the higher end. We provide a written price before any work starts - no exceptions. Call (669) 259-0406 for a specific estimate; they’re free.
Repair is cheaper only when the damage is localized - a single pest nest, a small water intrusion zone, or displacement from a single trade’s work. When compression, contamination, or settling exceeds 20% of the attic floor area, replacement with proper air sealing delivers lower lifecycle cost because the thermal performance is verifiable and the warranty covers the full assembly. We assess and photograph the space before recommending either approach.
Air sealing and targeted repairs, yes. Full attic insulation removal and replacement requires scheduling for material delivery and crew allocation, typically 3-5 business days out. Emergency situations - a roof leak saturating insulation, or a pest infestation with active entry - we prioritize for next-day assessment. Live person answers 24/7 at (669) 259-0406.
Because the limiting factor is almost certainly duct leakage or attic bypasses, not insulation thickness. Adding R-38 over unsealed leaks is like putting a thicker sweater on someone with an open window behind them. The register-pressure test described in this guide will confirm in five minutes. We’ve measured this exact scenario in Mountain View’s Monta Loma and Waverly Park neighborhoods - new insulation, zero comfort improvement, 40% duct leakage to attic.
If any completed work fails to perform as specified in the written scope - thermal performance, air sealing result, material integrity - we return and make it right at no charge. The promise is backed by the written scope and written warranty delivered before work started, not a verbal assurance. Haven Standard: Have it in writing.
Ask for the blower-door numbers: CFM50 before and CFM50 after. A legitimate air-sealing job in a Mountain View home should reduce leakage by 30-50%. Without this number, you’re trusting a checklist. We publish the reading on every applicable job, with photos of sealed points, because documentation is the only proof that survives the crew’s departure.
The Bottom Line
Insulation failure in Mountain View homes announces itself through specific, observable patterns - temperature differentials, thermal bridging lines, soffit staining, utility baselines, and pest-compressed zones - that most guides describe vaguely as “drafts” or “high bills.” The underlying cause is usually air sealing failure, not insufficient insulation thickness, which is why diagnostic measurement precedes any material specification. Know the numbers to look for, perform the simple tests, and demand documentation. The envelope is a system; treat it as one.
Written by Wes Okafor, Owner at Topside Attic Insulation Mountain View, serving Mountain View since 2016.