
Last updated September 24, 2026
DIY vs Professional Insulation: The Mountain View Homeowner’s Decision Guide
Blown-in insulation rental kits are available at Home Depot for roughly $200 plus material, and a homeowner can realistically install R-38 cellulose in a clear, accessible attic in a single day. The machine works fine. The problem is the 40 to 60 penetrations that need to be sealed before the first bag goes in - work that requires two-part foam, fire-rated caulk at mechanical penetrations, and the judgment to identify bypasses that aren’t visible until you know what to look for. In Mountain View, where Title 24 energy codes are strict and resale disclosures are unforgiving, the real question isn’t whether you can install insulation. It’s whether you can verify that your building envelope performs after you’re done.
Quick Answer
DIY insulation makes sense in Mountain View only for attics that are fully accessible, free of recessed lights and kneewall cavities, and already empty of old material. For every other condition, the air-sealing work that must precede insulation requires professional tools, permit knowledge, and third-party verification that a homeowner cannot self-produce. The hybrid approach - professional air sealing with blower-door proof, then DIY or contracted blown-in - captures most of the savings without the liability.
Table of Contents
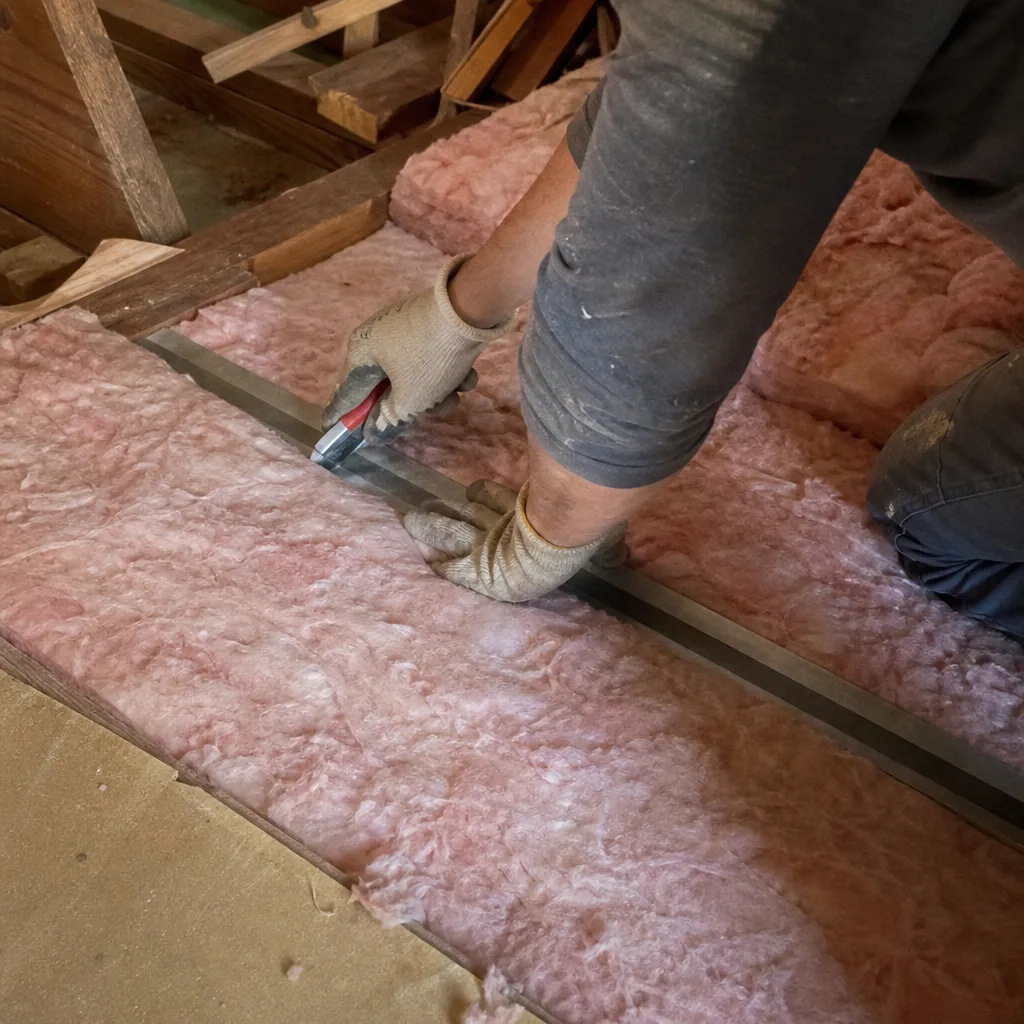
- The Three Attic Conditions Where DIY Is Genuinely Low-Risk
- Six Air-Sealing Tasks That Require Professional Judgment
- Permits, Title 24, and Resale Risk in Santa Clara County
- Real Costs: DIY vs. Professional With Documentation
- The Hybrid Approach: Professional Sealing, DIY Insulation
- How Mountain View’s Climate Affects the Decision
- What Documentation You Actually Walk Away With
- Common Mistakes to Avoid
- When to Call a Professional
- Frequently Asked Questions
The Three Attic Conditions Where DIY Is Genuinely Low-Risk
We’ve sealed and insulated over 9,000 homes since 2016, and we’ve seen maybe two dozen where we would have told the homeowner: go ahead, rent the machine, this one is straightforward. Those attics share three traits. If yours matches all three, DIY blown-in cellulose or fiberglass is a reasonable Saturday project with real savings.
Condition one: fully accessible with no existing material. You can walk the entire attic floor without balancing on joists. There’s no old insulation to remove, no rodent damage to remediate, no buried wiring to navigate. The floor is a simple rectangle or near-rectangle. In Mountain View’s Old Mountain View neighborhood near Castro Street, some 1950s ranch homes have this exact attic - a single scuttle hole, a clear span, nothing complicated.
Condition two: no kneewall cavities and no recessed lights. Kneewalls are the short vertical walls under a sloped roof, common in second-story additions in Monta Loma and Gemello neighborhoods. They create thermal bypasses that are invisible from the attic floor. Recessed can lights, even IC-rated ones, need specific sealing protocol with fire-rated covers or foam. If your attic has neither, you’ve eliminated the two most common failure points we find.
Condition three: simple rectangular floor plan with no HVAC equipment in the attic. Duct platforms, air handlers, and flex-duct penetrations add sealing complexity. A simple gable roof over a rectangle means the top plates run in straight lines, the perimeter is predictable, and there are no mechanical penetrations to fire-block or foam-seal.
Self-assessment test: stand in your attic with a flashlight. Can you see every top plate where the wall meets the ceiling? Are there any boxes, platforms, or light housings interrupting the view? Is the floor entirely visible and walkable? Three yes answers, and DIY is on the table. Anything less, and you’re looking at the six tasks below.
Six Air-Sealing Tasks That Require Professional Judgment
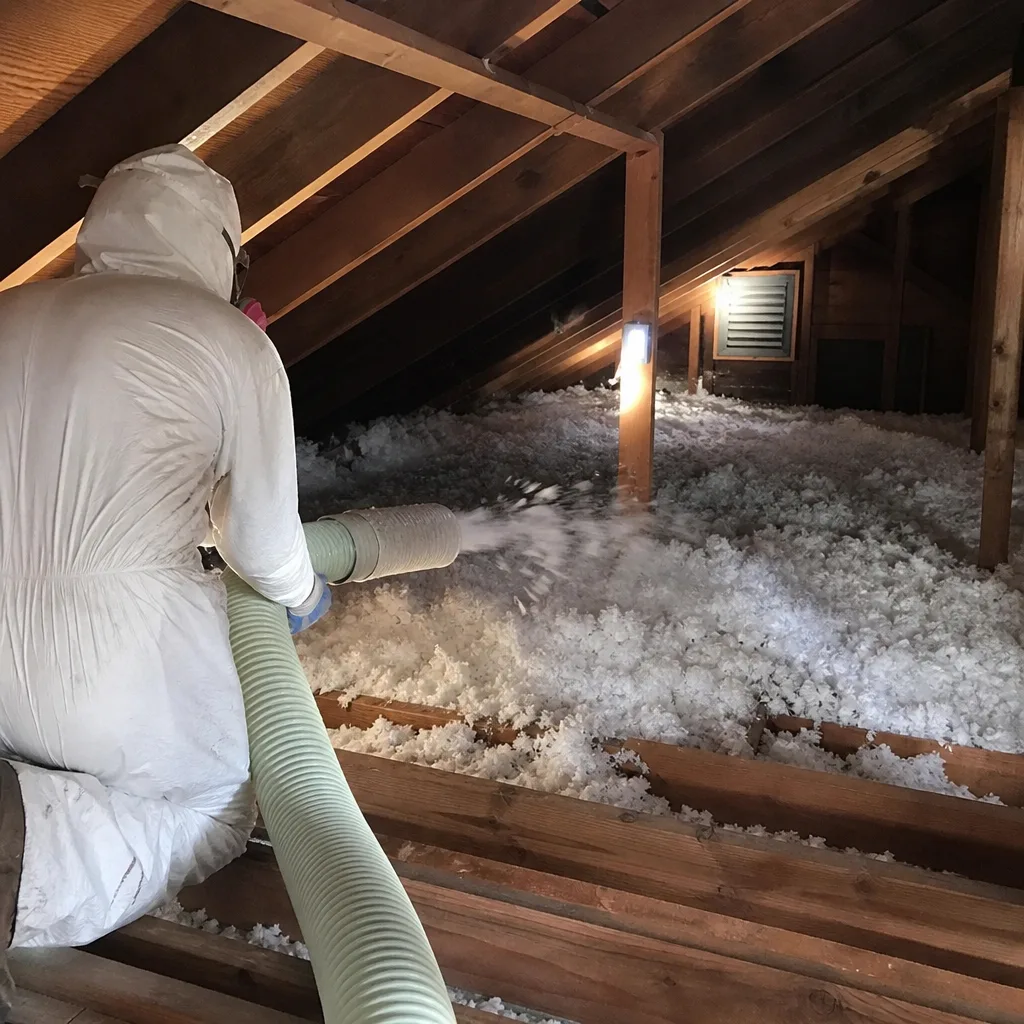
These are the tasks we complete before any insulation goes in, under our sealed-first-then-insulated protocol. Each one involves material knowledge, code compliance, or safety judgment that a typical homeowner hasn’t developed.
- Top-plate bypasses in open-web trusses. The top plate is the horizontal framing member where walls meet ceilings. In open-web trusses - common in 1970s and 1980s Mountain View construction - the web members create hidden channels that bypass the attic floor entirely. We seal these with two-part polyurethane foam, injected at specific pressure to fill without distorting the truss. A homeowner with a can of Great Stuff will miss the bypass or overfill and bow the ceiling below.
- Recessed light IC ratings and foam-sealing protocol. “IC” means insulation contact - the fixture is rated for direct contact with insulation. But IC-rated does not mean airtight. We install fire-rated foam boxes or mineral wool covers (we source Rockwool and CertainTeed products for this) over each housing, then seal the edges with fire-rated caulk. Non-IC fixtures must be kept clear of insulation entirely, which creates a thermal hole that needs compensating design. Misidentify the rating, and you’ve created a fire risk or an efficiency loss.
- Duct platform sealing. In Mountain View, many homes in the Whisman Station area have furnaces or air handlers on a framed platform in the attic. The platform itself is a thermal bypass unless the framing is foamed and the duct boots are sealed with mastic, not tape. Mastic application requires clean, dry surfaces and specific thickness - it’s not a homeowner-friendly material.
- Chimney chase fire-blocking. Any penetration through the attic floor by a chimney or vent pipe needs non-combustible fire-blocking. In California, this means specific clearance and material - not foam, not fiberglass, but sheet metal or intumescent sealant at specified gaps. Get this wrong, and the home fails inspection, period.
- Attic hatch weatherstripping and insulation. The hatch is the most overlooked thermal bypass in residential attics. We build a dam around the opening, insulate the hatch itself with rigid foam, and install compression weatherstripping that seals when the hatch closes. A homeowner’s blanket-on-top approach leaves a continuous air leak.
- Bathroom exhaust fan collar sealing. The flexible duct connecting the fan housing to the roof vent is often disconnected, kinked, or unsealed at the collar. We secure with proper clamps, seal with mastic, and verify with smoke pencil or blower-door depressurization that no air is leaking into the attic. Moisture from a leaking bath fan duct is a leading cause of mold in Mountain View’s mild, humid winters.
Each of these tasks appears simple in isolation. Together, they form a system that determines whether your insulation performs or just sits there. We’ve tested attics in Mountain View with 14 inches of new blown-in cellulose and blower-door numbers barely better than before - because the sealing was skipped.
Permits, Title 24, and Resale Risk in Santa Clara County
This is the liability frame that most DIY guides ignore entirely. In Santa Clara County, attic insulation work triggers a building permit when it meets specific thresholds: any work connected to HVAC ducts, any work involving spray foam (which requires fire-safety inspection), or any project exceeding $1,000 in value in combination with other improvements. The permit is a C-2 classification - Warm-Air Heating, Ventilating and Air-Conditioning - and must be pulled by a licensed contractor.
A homeowner who installs their own insulation in a permitted-trigger scenario has created an unpermitted improvement. Under California Civil Code Section 1102, this must be disclosed on the Transfer Disclosure Statement at resale. The disclosure reads: “Any room additions, structural modifications, or other alterations or repairs made without required permits.” That’s a direct quote from the form.
In Mountain View’s current market, where median home prices exceed $2 million and buyers finance with jumbo loans, unpermitted work affects underwriting. Some lenders require permit verification for any disclosed improvement. Some buyers walk. The $400 you saved by skipping the permit process becomes a $15,000 price reduction at negotiation, or a delayed close that costs you the replacement property.
The professional path: we pull permits where required, schedule inspections, and provide the homeowner with permit completion documentation. Under Haven Standard Clause 1, the written scope specifies whether permitting is included, and the written record at job completion includes inspection sign-off where applicable. You have a file folder, not a disclosure problem.
Real Costs: DIY vs. Professional With Documentation
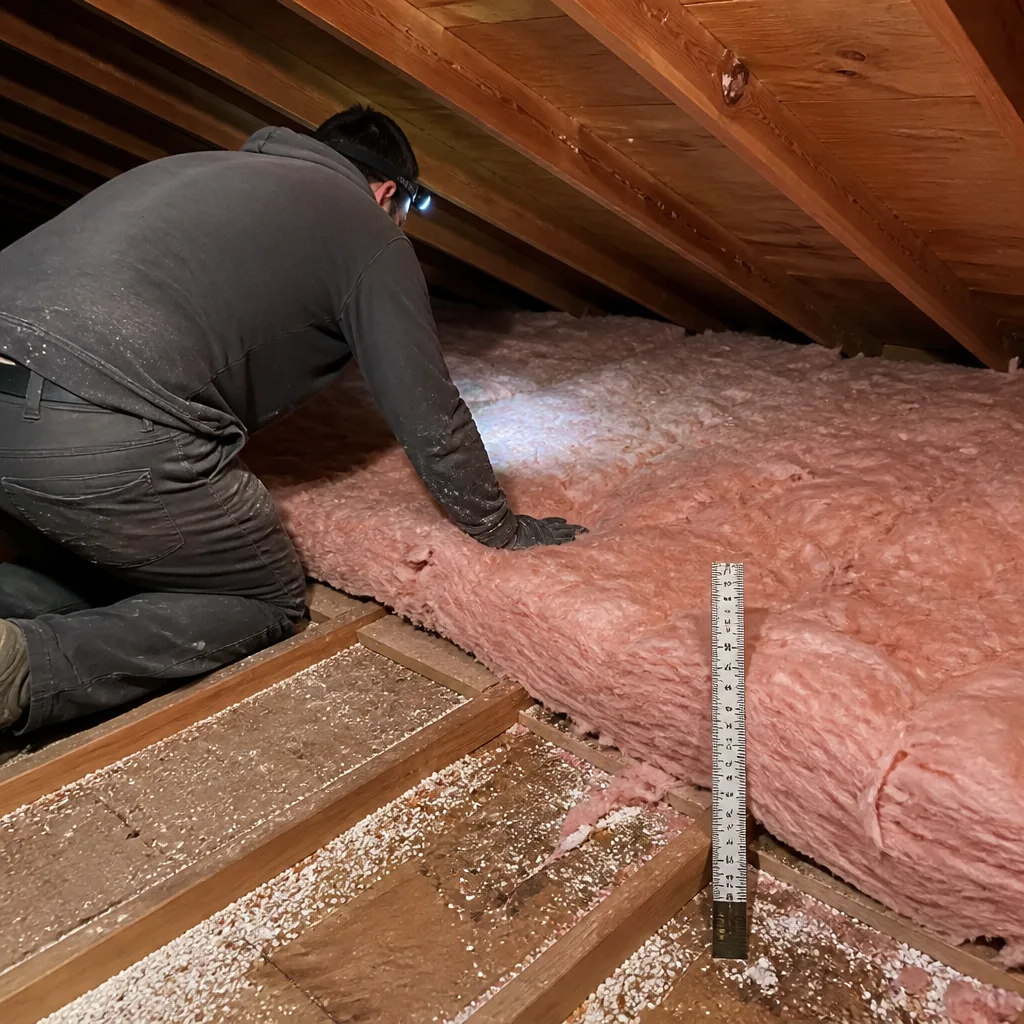
Here’s the honest math for a typical 1,600-square-foot Mountain View home with accessible attic and moderate sealing needs.
DIY thorough job:
- Insulation blower rental (weekend): $200-$250
- Cellulose material, 30 bags for R-38: $450-$550
- Two-part foam kit for top plates and penetrations: $180-$220
- Fire-rated caulk, mastic, weatherstripping: $60-$90
- N95 respirators, Tyvek suit, eye protection, gloves: $40-$60
- Recessed light covers (if applicable, 6 fixtures): $90-$120
- Attic hatch insulation kit: $30-$50
- Post-work depth verification and written record: $0 (almost always skipped)
DIY total: $1,050-$1,340, plus a full weekend, plus no third-party verification, plus permit liability if triggered.
Professional job with documentation:
Most attic insulation jobs in a home this size in Mountain View run between $2,800 and $4,200 when air sealing is included, with variation based on existing material removal needs and access difficulty. This includes:
- Before-and-after blower-door test - a pressurization reading that shows, in one number, how much air your building envelope was losing
- Complete air sealing with documented photo record
- Blown-in insulation to specified depth, verified with depth markers and photos
- Written scope, written price before work starts, written warranty at completion
- Permit handling where triggered
- 365-Day Done Right Promise
The gap is real: $1,650 to $2,860. But the professional job includes verification that the DIY job cannot self-produce, and it transfers permit liability to the contractor. For homeowners who plan to sell within five years - common in Mountain View’s tech-driven market - the documentation has direct resale value.
The Hybrid Approach: Professional Sealing, DIY Insulation
This is the path we recommend most often when a homeowner asks about saving money without taking on full liability. Structure it as two separate scopes of work, with clear handoff criteria.
Phase one: professional air sealing with blower-door verification. We complete the six sealing tasks above, test with the blower door, and provide you with the before-and-after numbers and photo record. You now have a documented, sealed attic. Cost for sealing-only in a 1,600-square-foot home: typically $1,400-$2,200 in Mountain View.
Phase two: homeowner-installed blown-in insulation. With the bypasses sealed and verified, you rent the machine, buy the bags, and blow to the specified depth. We mark the target depth on visible joists and provide a simple depth-check protocol. You save the labor portion of the insulation installation - roughly $800-$1,200 on typical jobs.
How to structure this conversation with any contractor: ask for a written scope that separates “air sealing and blower-door verification” from “insulation installation.” Under Haven Standard, we provide this by default - flat price for each phase, no work starts without written agreement. If a contractor won’t itemize, that’s information. They’re either not set up for hybrid work, or they’re not confident you’ll come back for phase two.
The hybrid approach has one non-obvious benefit: the blower-door test after sealing but before insulation gives you a baseline. If you add insulation later and suspect performance issues, you have a documented starting point. Most homeowners never get this number, even from full professional jobs.
How Mountain View’s Climate Affects the Decision
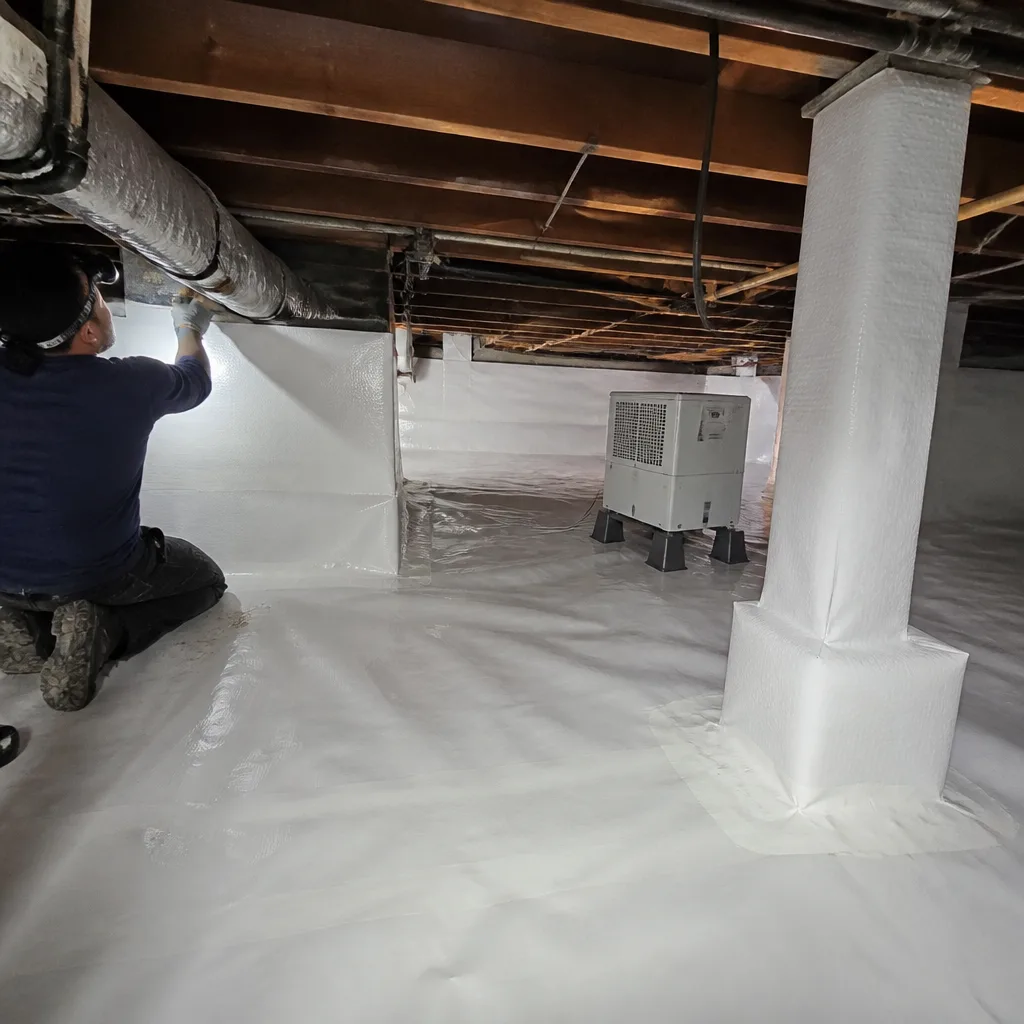
Mountain View sits in a Mediterranean microclimate moderated by San Francisco Bay, but the specifics matter for insulation strategy. Summer highs rarely exceed 80°F, but solar gain on dark roofs in neighborhoods like Blossom Valley can drive attic temperatures above 140°F. Winter lows dip to the high 30s, with persistent marine layer moisture that makes air sealing more critical than raw R-value.
What this means practically: a poorly sealed attic with high R-value insulation will still lose conditioned air, and the moisture drive from winter humidity will find any gap. We’ve tested homes in Shoreline West with R-49 cellulose and blower-door numbers above 3,500 CFM50 - the insulation is doing almost nothing because the air is moving through it.
The climate also affects material choice. Cellulose performs well in our dry summers but can settle and lose effectiveness if moisture enters through bypasses. Fiberglass is more moisture-tolerant but less effective at blocking radiant heat. For homeowners considering spray foam insulation in Mountain View, the closed-cell variety provides both air sealing and insulation in one application - but at higher cost and with specific fire-safety requirements that make DIY inappropriate.
Neighborhood variation matters too. Older homes in Old Mountain View (pre-1950) often have balloon framing or knob-and-tube wiring that changes the risk calculation. Eichler homes in the Fairmeadow area have flat roofs with no attic at all, pushing insulation decisions to the roof deck or exterior walls. The Topside Attic Insulation Mountain View home assessment process includes these local variables in every written scope.
What Documentation You Actually Walk Away With
This is where professional and DIY paths diverge most sharply. Documentation isn’t paperwork for its own sake - it’s the evidence that your money produced a result, and it’s what you hand to a buyer, an appraiser, or your own future self when something goes wrong.
Professional documentation under Haven Standard:
- Written scope before work starts - flat price, material specification, sequence of work
- Written warranty at completion - 365-Day Done Right Promise, with specific coverage terms
- Documented Photo Record on every visit - dated, geotagged, showing before condition, work in progress, and completed state
- Before-and-after blower-door readings on applicable jobs - the pressurization number, test date, and technician name
- Permit completion documents where required
- Material invoices showing brand and batch - we source from Owens Corning, Johns Manville, Knauf, Rockwool, CertainTeed, Icynene, Demilec, and GreenFiber, with no proprietary lock-in
DIY documentation (rarely produced):
- Receipts for materials and rental
- Maybe a phone photo of installed depth
- No blower-door number, no third-party verification, no warranty, no permit record
The gap isn’t sentiment. It’s evidence. When we say “documented record,” we mean a file you can produce in a dispute, a sale, or a warranty claim. Under Haven Standard, you get that file before the crew leaves. It’s not available on request - it’s included, every time.
Common Mistakes to Avoid
- Blowing insulation over existing material without inspecting it. Old insulation in Mountain View often contains rodent droppings, degraded cellulose from roof leaks, or buried electrical hazards. We remove and inspect before adding - DIY projects rarely do, and the new layer conceals problems that worsen.
- Sealing recessed lights with standard spray foam. Non-fire-rated foam against a hot fixture is a code violation and a fire risk. IC-rated fixtures still need specific covers, not just foam contact. We’ve found this mistake in at least a dozen Mountain View attics where the homeowner “watched a YouTube video.”
- Ignoring the attic hatch. It’s the largest single opening in most attic floors, and a blanket laid on top does nothing for air leakage. Proper weatherstripping and insulation adds maybe $40 in material - skipping it wastes 10% of your insulation investment.
- Assuming R-value equals performance. R-value is measured in still air. Air moving through insulation - from bypasses you didn’t seal - strips away effective performance. A well-sealed R-30 outperforms a leaky R-49 every time.
- Not verifying depth after installation. Blown-in settles. The depth you see at the scuttle hole may not match the depth at the eaves, where wind washing and installer fatigue create thin spots. We mark depth with rulers at multiple points and photograph each - DIY projects almost never check more than one spot.
- Failing to pull a permit when triggered. The disclosure risk is real, the penalty is resale friction, and the permit cost is typically under $200. The false economy of skipping it is one of the most expensive mistakes we see.
When to Call a Professional
Call a professional when your attic has any of the following: recessed lights, kneewall cavities, HVAC equipment, existing material that needs removal, any history of roof leaks or rodent activity, or a floor plan that isn’t a simple rectangle. Call a professional when you need permit compliance, resale documentation, or third-party verification that the work performed. Call a professional when you’re not confident identifying top-plate bypasses, IC ratings, or chimney chase clearances - which is most homeowners, honestly.
Attic insulation in Mountain View isn’t technically complex in the abstract. It’s complex in the specific - the particular combination of your home’s age, its construction type, its prior modifications, and its position in a market where documentation matters. Topside Attic Insulation Mountain View offers free estimates in Mountain View - call (669) 259-0406. We’ll assess your attic, show you the specific bypasses we find, and give you a written price for sealing, insulation, or both. No work starts without that written price, and every job closes with a documented record.
Frequently Asked Questions
Most attic insulation jobs in a home between 1,400 and 2,000 square feet in Mountain View run between $2,800 and $4,200 when air sealing is included, with variation based on access difficulty and whether existing material needs removal. Call (669) 259-0406 for a written estimate - estimates are free, and we provide a Free Second Opinion on any written estimate you’ve already received.
You can, but the test is less useful as verification and more useful as diagnosis. A blower-door test after DIY insulation shows you have a problem, but it doesn’t tell you where - the insulation is in the way. Testing before insulation, with the attic floor visible, lets a technician pinpoint specific bypasses. We recommend testing before, sealing, testing after sealing, then insulating. That sequence requires professional involvement from the start.
It can, if the work triggers permit requirements and no permit was pulled. California’s Transfer Disclosure Statement specifically asks about unpermitted improvements, and Mountain View buyers in the current market often verify permits for energy-related work. DIY insulation without documentation also means no warranty transfers to the buyer. Professional work with permit completion and written warranty is a neutral or positive factor; unpermitted DIY is a disclosure obligation and potential negotiation point.
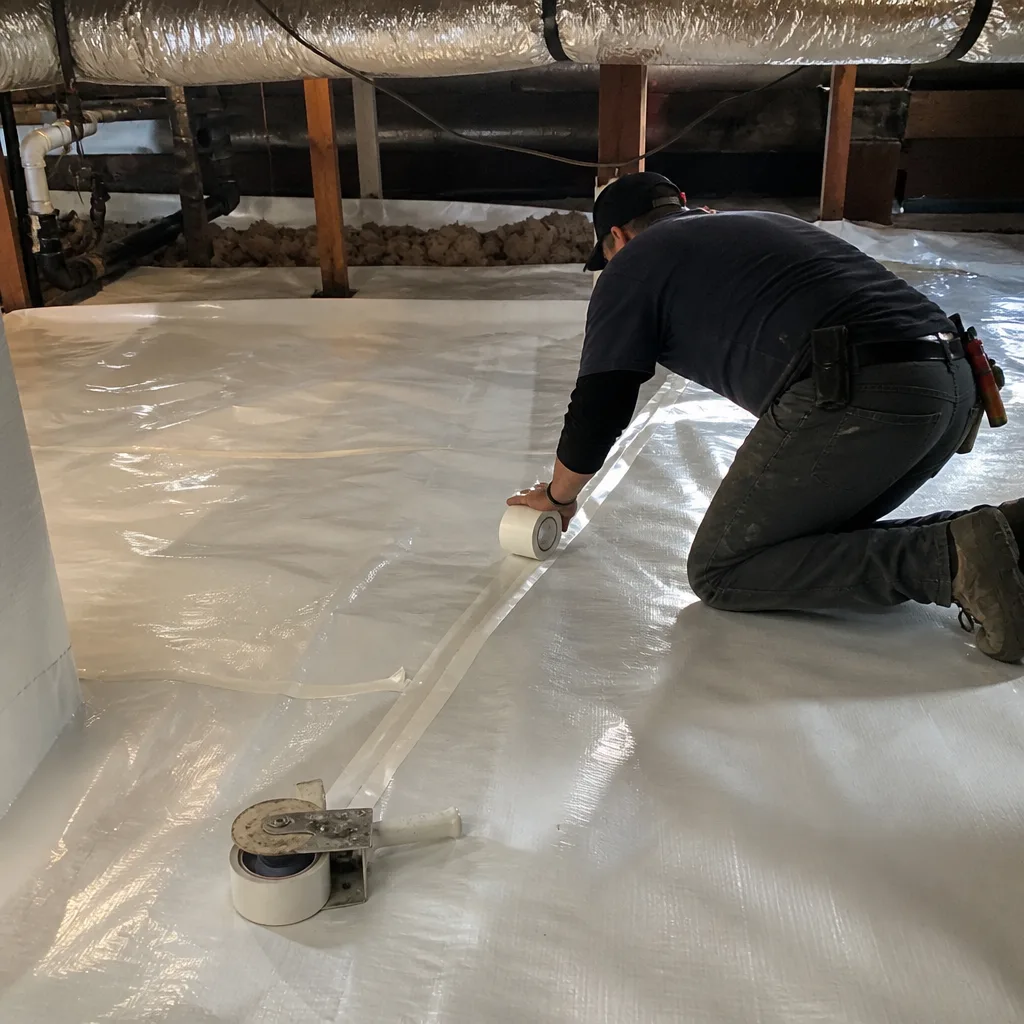
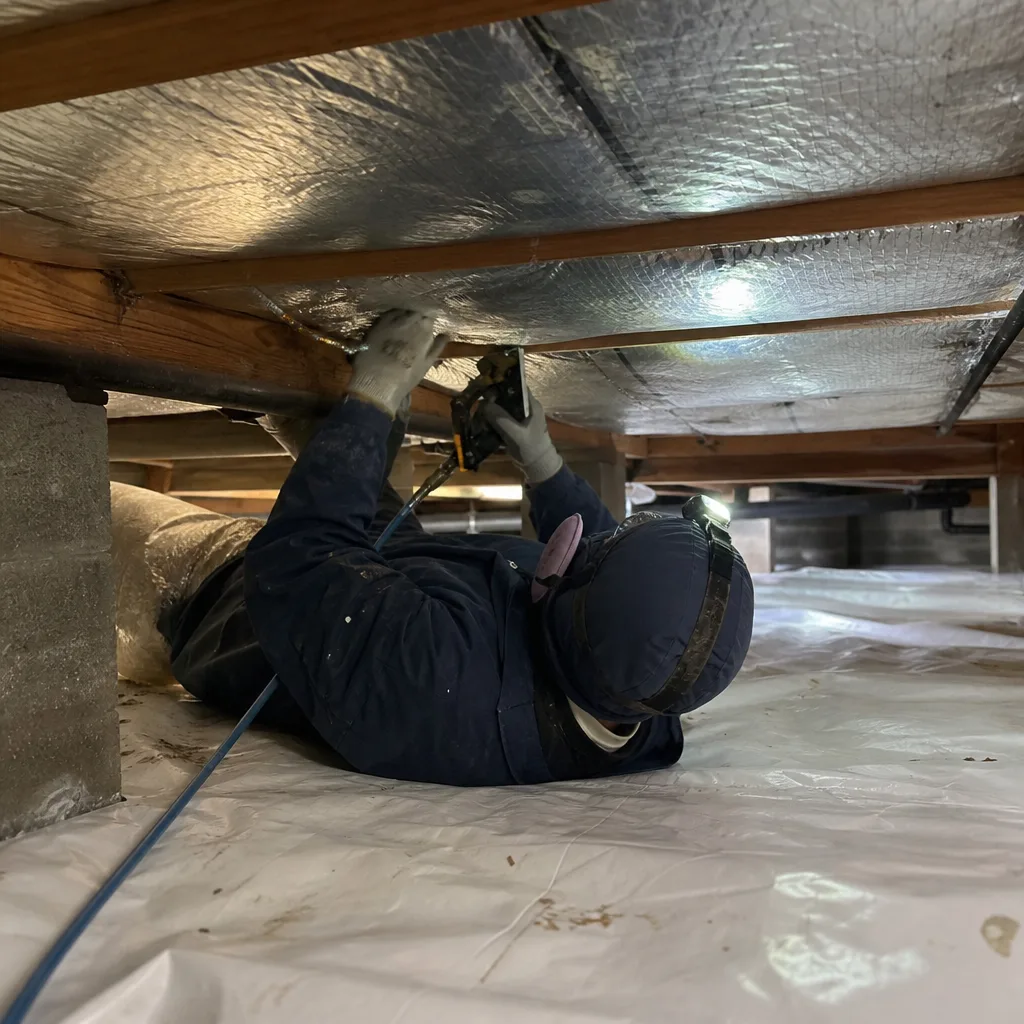
For attics, blown-in cellulose or fiberglass to R-38 (current Title 24 requirement) is standard. Cellulose has better air-resistance and is made from recycled content - GreenFiber is one brand we use for homeowners who prioritize this. Fiberglass is more moisture-tolerant if your roof has any leak history. For specific applications like crawl space encapsulation and vapor barrier in Mountain View, we often recommend closed-cell spray foam or rigid foam board with sealed seams, depending on moisture conditions.
Look for dirty spots on existing insulation - that’s dust carried by moving air, indicating leaks. Check for visible gaps at top plates, around chimneys, and at duct penetrations. Feel for temperature differences with your hand on a cool morning. But the only reliable method is a blower-door test with infrared camera mapping, which shows air movement in real time. We include this assessment in every estimate.
Yes, for attics that meet the three low-risk conditions described above. The critical element is the handoff: the contractor must verify sealing completeness with a blower-door test, mark target insulation depths clearly, and provide written confirmation that the attic is ready for insulation. Without that verification, you’re guessing. With it, you’ve captured professional expertise at the point of maximum value and saved labor costs where the work is genuinely straightforward.
The Bottom Line
The DIY-versus-professional question for Mountain View homeowners is not primarily about skill or cost. For more guides & resources on making the right choice, see our blog. It’s about liability and verifiability. A homeowner can install insulation competently in the right attic. A homeowner cannot self-produce a blower-door report, cannot pull a C-2 permit, and cannot transfer a warranty. The hybrid approach - professional sealing with documented verification, then DIY or contracted blown-in - captures most savings without most risk. For attics with any complexity, the full professional path with written scope, written price, and documented record is the only route that closes with evidence instead of hope. We’ve completed over 9,000 homes under The Haven Standard since 2016, every one with a written price before work started and a documented record when the crew left. That standard exists because we’ve seen what happens when it’s not met.
Written by Wes Okafor, Owner at Topside Attic Insulation Mountain View, serving Mountain View since 2016.