
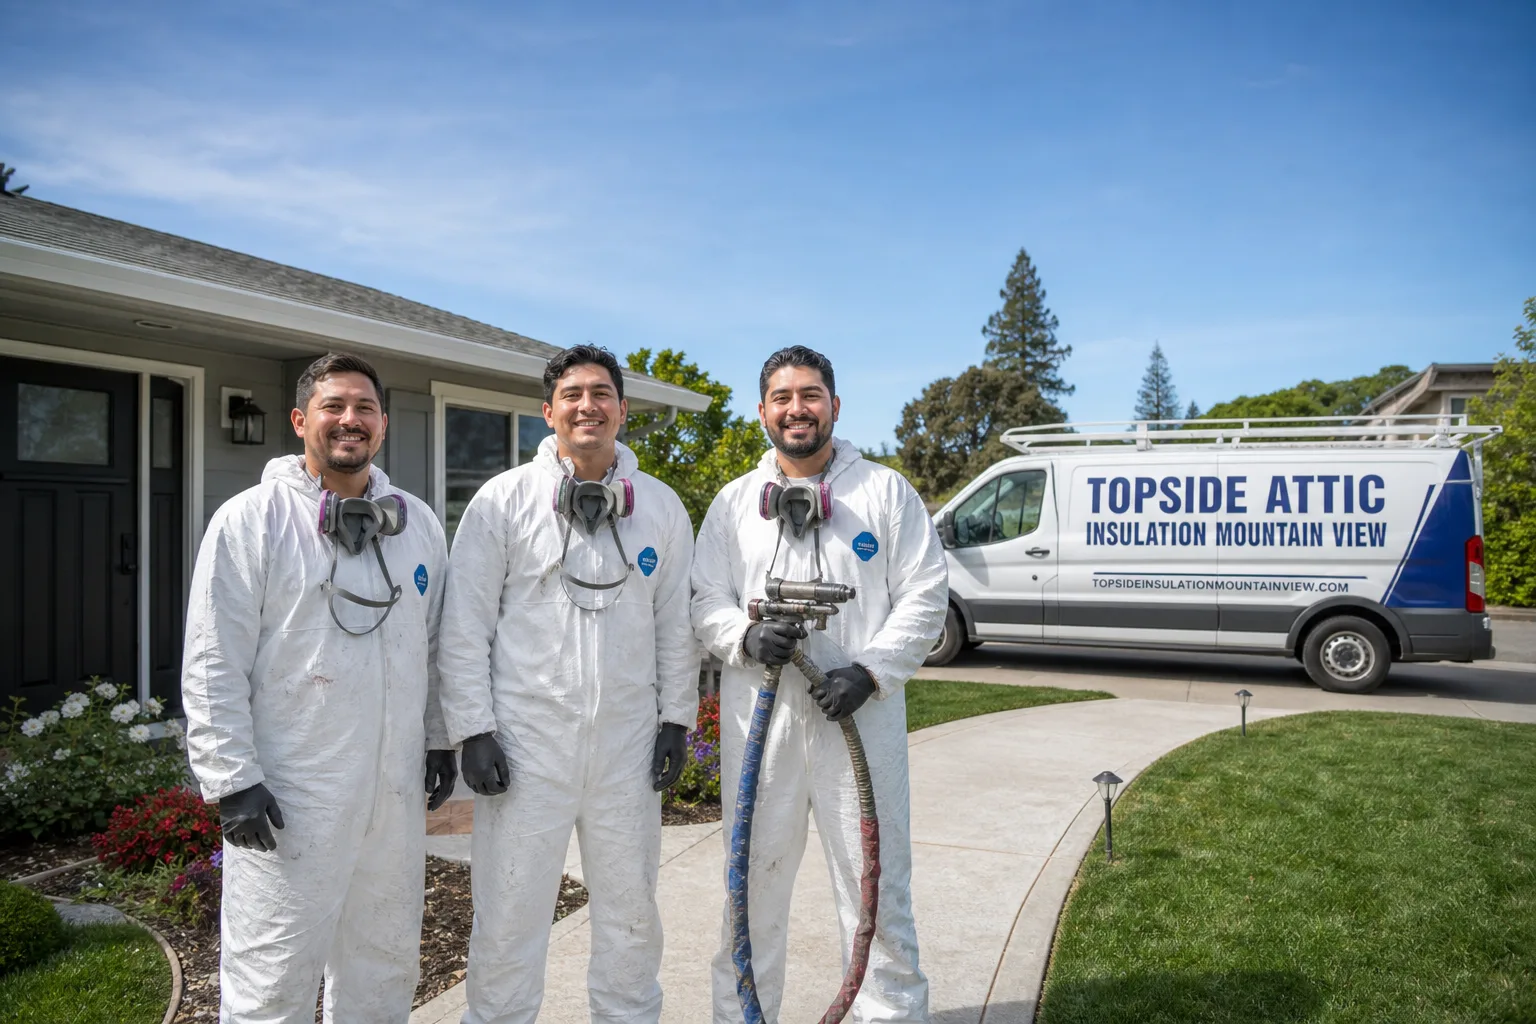
Trusted Radiant Barrier Installation for Mountain View Homeowners
Radiant Barrier Installation - Mountain View typically costs $1,800-$4,200 for a single-story home and cuts attic heat gain by 20-40% during our prolonged summer season. Most Mountain View jobs are completed in one day, with crews arriving from our Santa Clara County base within 45 minutes of the 94040, 94041, 94043, and 94085 zip codes. Call (669) 259-0406 for a written price before any work starts - estimates are free, and a live person answers 24/7.
We’ve sealed and insulated over 9,000 homes since 2016, and we’ve learned that radiant barriers fail when they’re stapled to dusty rafters without cleaning the substrate first, or when they’re installed over unsealed attic floors that let conditioned air escape into the roof deck. In Mountain View’s climate - where summer days regularly hit the mid-80s and attic temperatures can exceed 140°F - a properly installed radiant barrier can reduce cooling loads enough to downsize your AC replacement by half a ton. That’s not a sales pitch; it’s what we’ve measured on blower-door and infrared camera inspections in neighborhoods from Old Mountain View to Monta Loma to Waverly Park.
Every radiant barrier job we complete begins with a written price and scope under Haven Standard Clause 1, includes a Documented Photo Record, and carries our 365-Day Done Right Promise. On jobs where air sealing is part of the scope, you’ll receive before-and-after blower-door numbers - a pressurization reading that shows, in one figure, how much conditioned air your home was losing before and after our work.
What Our Radiant Barrier Installation Service Includes
Attic Radiant Barrier
An attic radiant barrier is a highly reflective material - typically aluminum foil laminated to a substrate - installed to reduce radiant heat transfer from your roof deck into your living space. In Mountain View, where many homes built between 1950 and 1980 have minimal attic insulation and dark composite shingle roofs, we’ve found that adding a radiant barrier can drop attic temperatures from 140°F to 95°F on identical 85°F days. We install Owens Corning and Johns Manville radiant barrier products, always after completing air sealing of top plates, can lights, and plumbing penetrations - because a radiant barrier can’t reflect heat that’s already inside your attic via convection through gaps in the ceiling plane.
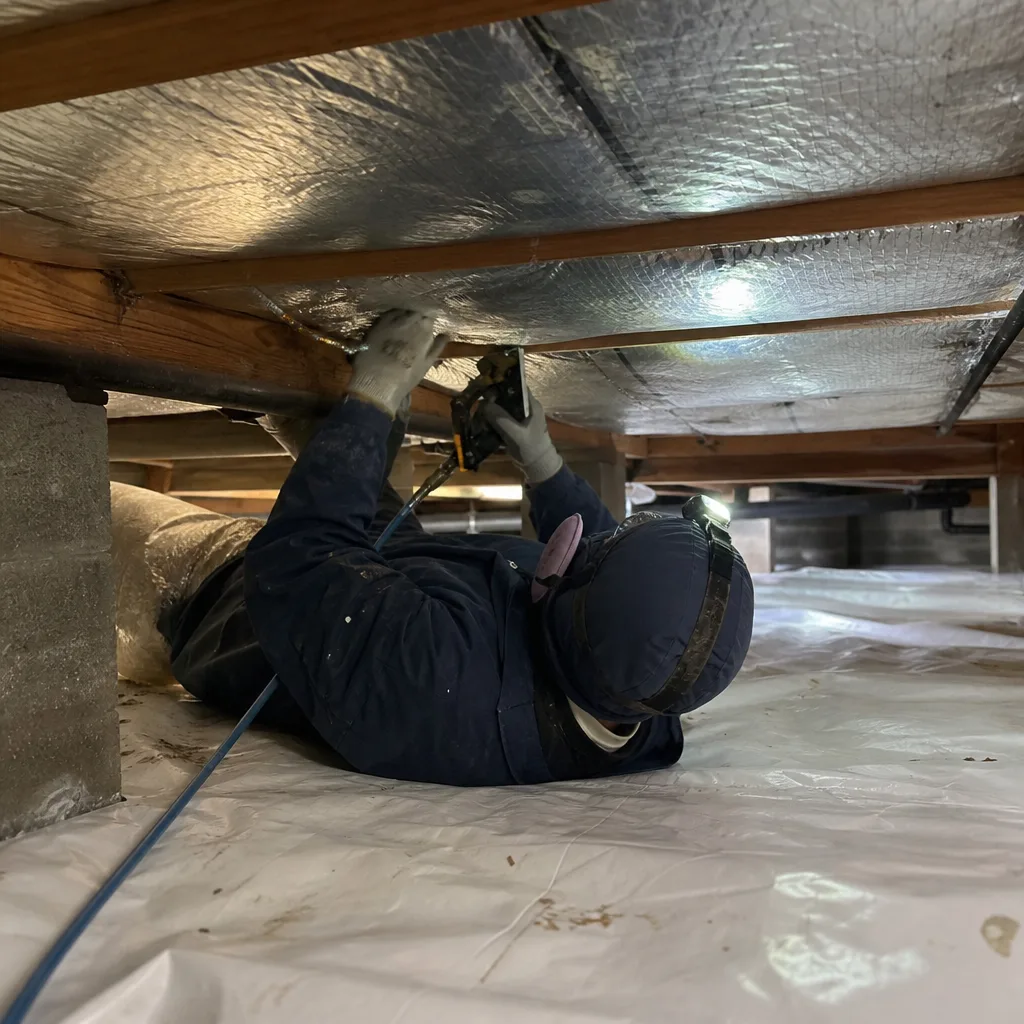
Radiant Barrier Foil
Radiant barrier foil is the most common form factor: a thin, flexible sheet that we staple to the underside of roof rafters or lay over existing attic insulation, depending on your roof geometry and ventilation strategy. In Mountain View’s flat-roofed Eichler and similar mid-century modern homes - common in the Slater and Rex Manor neighborhoods - we use perforated foil that allows moisture vapor to pass through, preventing condensation buildup in our mild, humid winters. We source foil from Knauf and Rockwool distributors, and we never install foil directly over unsealed recessed can lights or bathroom fan housings; those penetrations get sealed first with fire-rated covers and mastic, documented in your photo record.
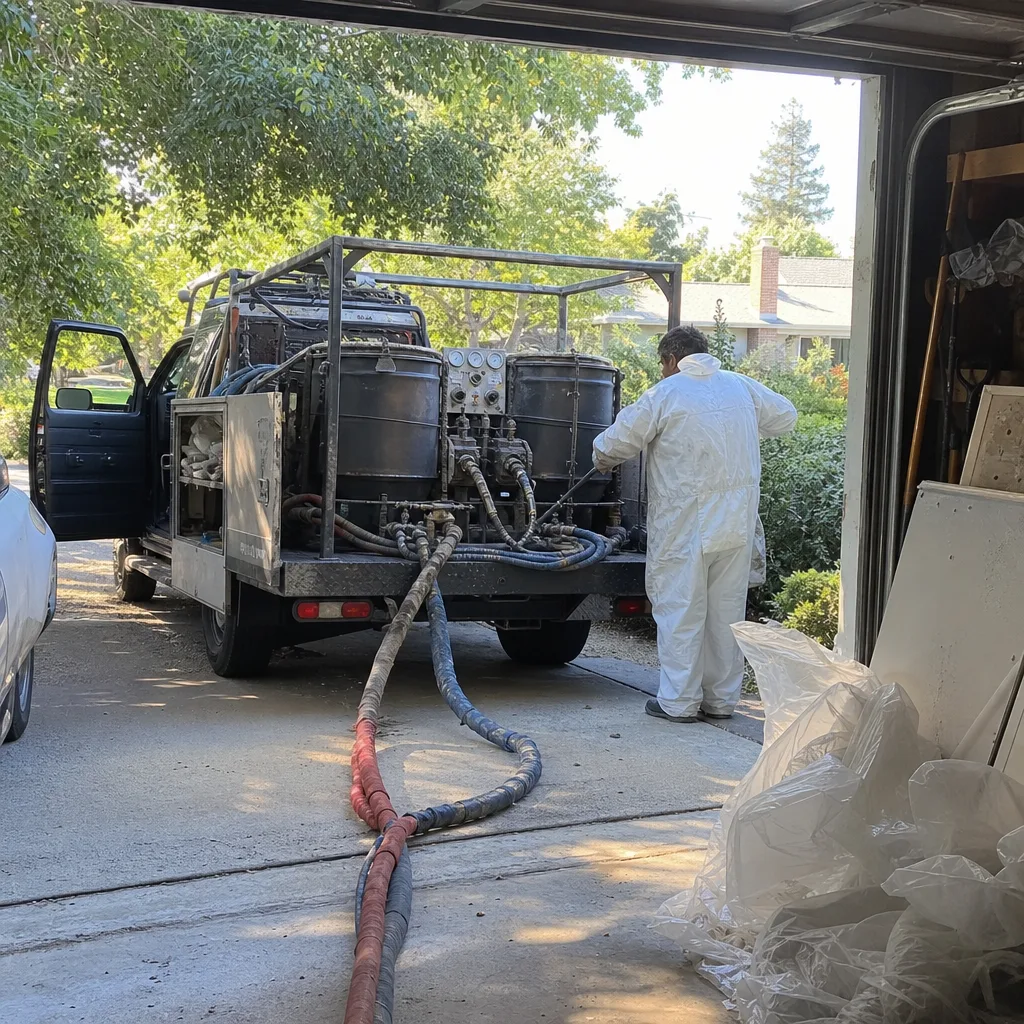
Radiant Barrier Roof Deck
A radiant barrier roof deck application involves installing reflective sheathing or foil-faced plywood during new construction or re-roofing, or retrofitting foil to the underside of existing roof decking. Most Mountain View homeowners don’t need this unless they’re already replacing their roof, but we’ve completed several in the Los Altos Hills-adjacent areas where our Radiant Barrier Installation in Los Altos handles tile roofs with concrete underlayment that create extreme radiant loads. When we do install roof-deck radiant barriers, we coordinate with your roofing contractor on sequencing - the radiant barrier goes on before the final roofing material, with proper ventilation gaps maintained per California Title 24 requirements. We document the installation with photos of every bay before the roofers close it up.
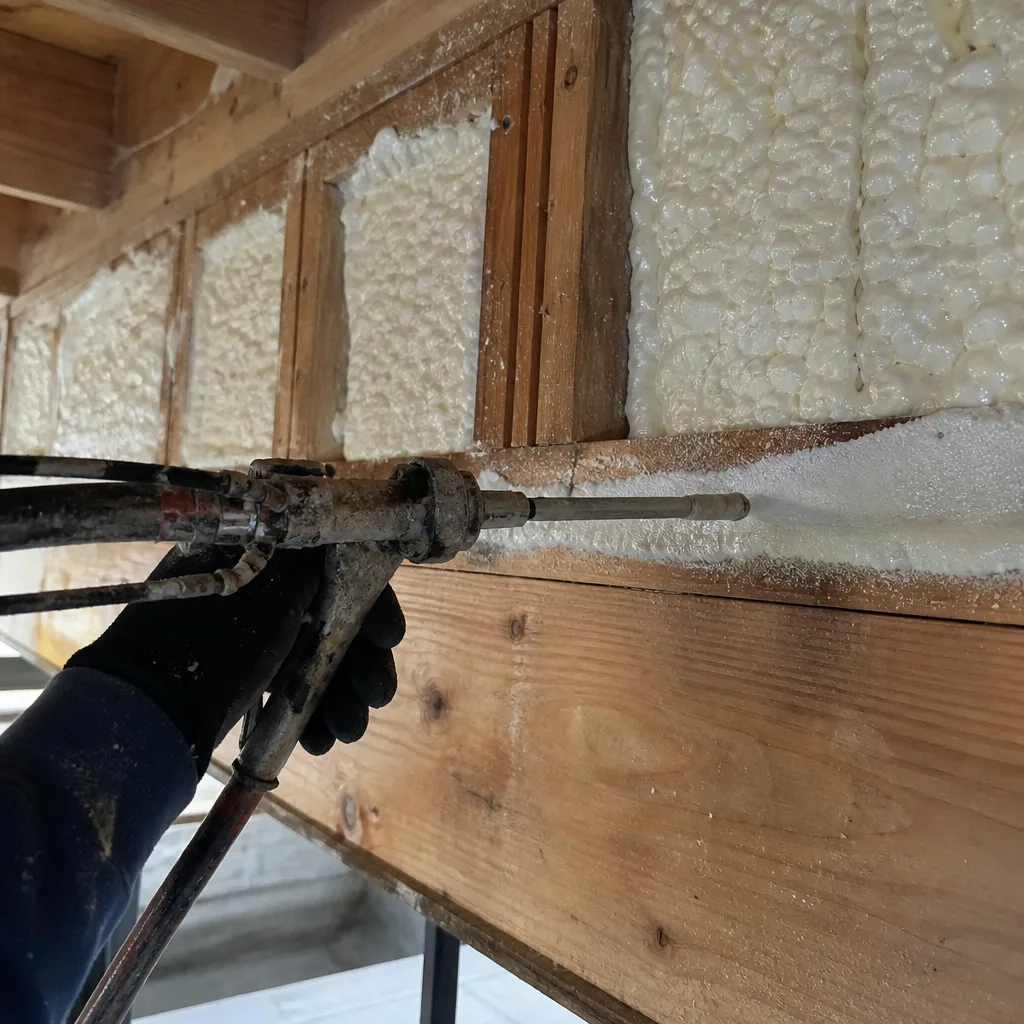
Radiant Barrier & Ventilation
Radiant barriers work by reflecting heat, not by stopping airflow - so without adequate attic ventilation, the heat they reflect simply accumulates and re-radiates. Our combined radiant barrier and ventilation service pairs reflective foil installation with balanced intake and exhaust ventilation: soffit vents, ridge vents, or gable vents sized to your attic volume. In Mountain View’s older neighborhoods like The Crossings and Blossom Valley, we regularly find attics with 1960s-era ventilation rates of 1:300 or worse; we bring those up to modern 1:150 standards per ASHRAE guidelines, using calculated net free area rather than guesswork. The result is a system, not a product - and we prove it works with infrared camera verification showing surface temperature differentials across your ceiling plane.
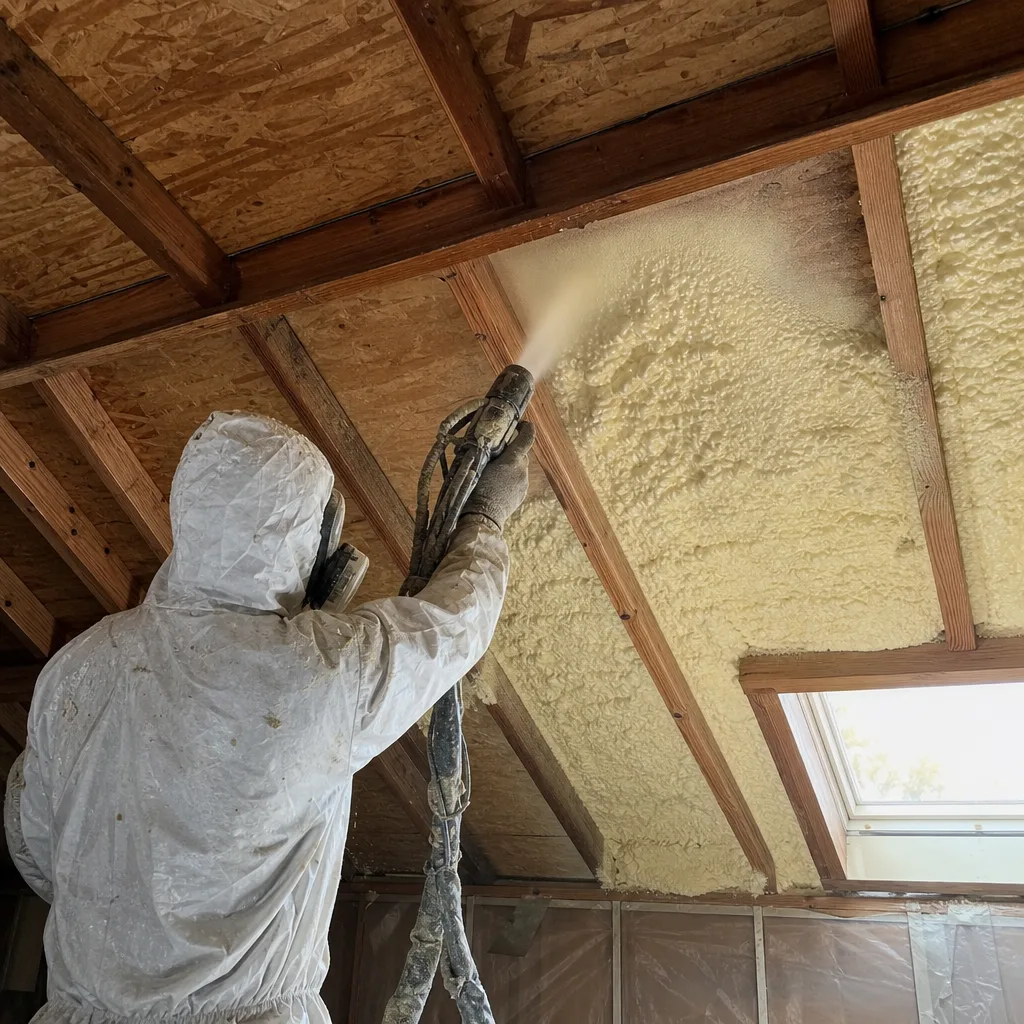
What happens when you call
- 1
A real person answersNo phone trees - you reach a local pro.
- 2
You get an upfront price rangeHonest numbers before anyone is dispatched.
- 3
A background-checked tech heads outLicensed & insured, dispatched right away.
- 4
You approve before work beginsNothing starts until you say go.
Brands We Service for Radiant Barrier Installation
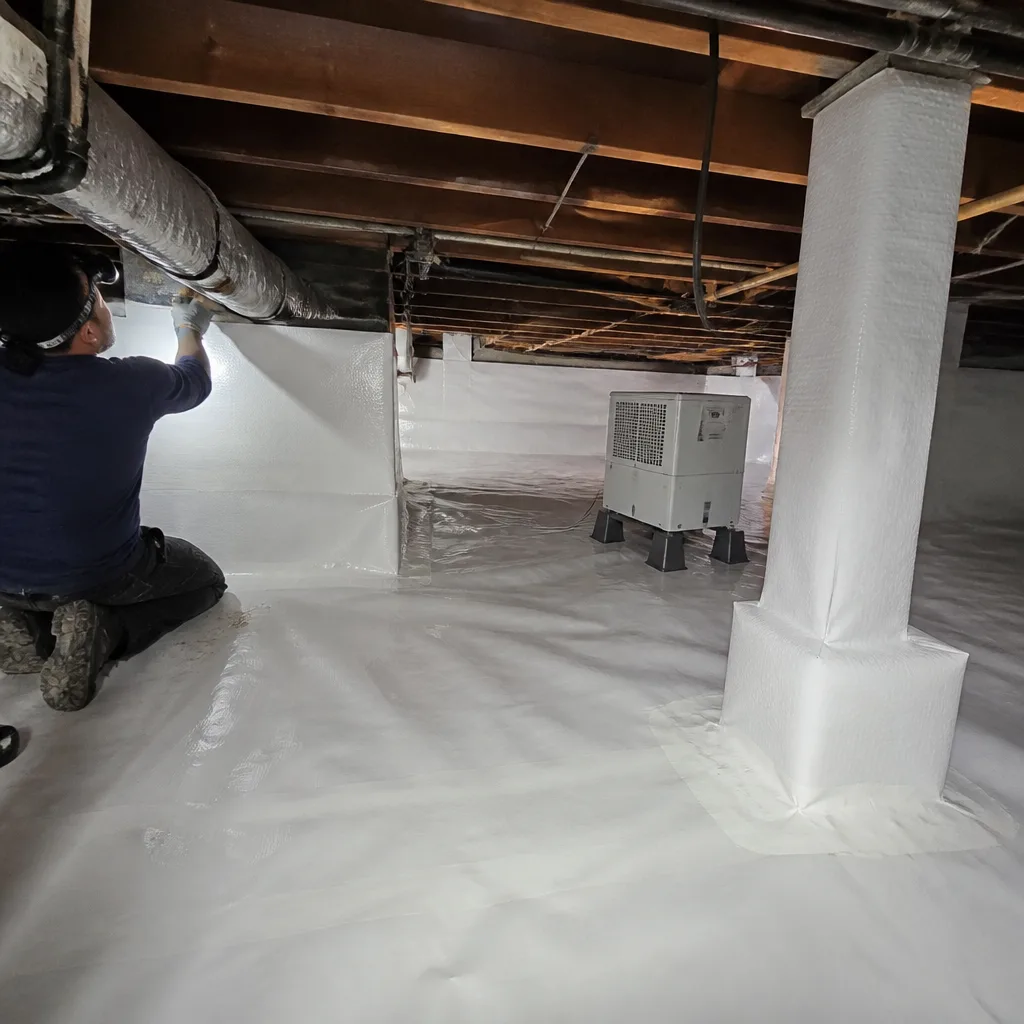
We install radiant barrier products from Owens Corning, Johns Manville, and Knauf - three manufacturers whose materials we’ve specified on hundreds of Bay Area jobs and whose technical support lines we know by name. Owens Corning’s radiant barrier sheathing integrates cleanly with their AttiCat blown-in insulation system, which matters when we’re sequencing air sealing, radiant barrier, and insulation upgrade in a single visit; Johns Manville’s foil products hold up well in the high-humidity microclimates near the Stevens Creek corridor where condensation risk is elevated. We’ve also worked extensively with Rockwool’s high-temperature foil facings for applications near metal flues or in unvented cathedral ceilings where standard products would degrade.
Whether your home currently has Owens Corning, Johns Manville, Knauf, Rockwool, or any other manufacturer’s radiant barrier product - or none at all - we can assess its condition, recommend repair or replacement, and install new material to spec. We carry no exclusive or preferred status with any brand; our specification is driven by your roof type, attic geometry, and performance goals, not by distributor incentives.
Signs You Need Radiant Barrier Installation Right Now
- Your upstairs rooms are 10-15°F hotter than downstairs on summer afternoons. This temperature stratification is the classic signature of radiant heat gain through an unprotected roof deck. In Mountain View’s climate, where marine layer mornings give way to intense afternoon sun, we’ve measured ceiling surface temperatures of 120°F in homes with dark roofs and no radiant barrier - heat that conducts directly into your living space regardless of how much fiberglass sits in the attic floor.
- Your air conditioner runs continuously from 2 PM to 8 PM but can’t reach your thermostat setpoint. When radiant heat gain exceeds your AC’s capacity, the system never cycles off. We’ve seen this pattern repeatedly in Monta Loma and Waverly Park homes with R-19 attic insulation and no radiant barrier; adding reflective foil dropped the cooling load enough for the system to reach setpoint and cycle normally.
- Your attic insulation is compressed, discolored, or has dark streaks on top. Those dark streaks are dust filtered from air moving through the insulation - evidence that your attic floor isn’t sealed, and that your insulation is performing below its rated R-value. In Mountain View’s older housing stock, we find this condition in roughly 60% of pre-1990 homes. A radiant barrier installed over this compromised insulation won’t help; we remove or restore the insulation, seal the floor, then install the barrier.
- You’re replacing your roof and the decking is exposed. This is the only opportunity to install radiant barrier roof decking without doubling your labor cost. We coordinate with roofing contractors throughout Santa Clara County on sequencing; the radiant barrier goes down after tear-off, before felt or synthetic underlayment. Miss this window and you’re looking at retrofit costs that are typically 40-60% higher for equivalent coverage.
- Your energy bills spike July through September despite no change in thermostat setting. Pacific Gas & Electric’s time-of-use rates hit peak pricing 4 PM to 9 PM - exactly when radiant heat gain is highest. We’ve documented cases in Mountain View where radiant barrier installation shifted the home’s cooling load curve enough to move significant consumption out of peak rate periods, saving $30-$80 monthly on summer bills depending on home size and rate plan.
Our Radiant Barrier Installation Process - Step by Step
- 1
Site assessment and blower-door test. We start with a walkthrough of your attic, documenting existing insulation depth, roof deck condition, ventilation openings, and combustion safety for any gas appliances. On jobs where air sealing is included, we run a blower-door test - a pressurization reading that shows, in one number, how much air your building envelope is losing. In Mountain View, a typical unsealed home from the 1960s reads 3,500-5,500 CFM50; we target 2,500 or below before adding insulation or radiant barrier.
- 2
Written price and scope under Haven Standard Clause 1. Before anyone lifts a tool, you receive a flat price, written scope of work, and written warranty. No exceptions. This document specifies the radiant barrier product, coverage area, air sealing details, ventilation modifications if any, and the blower-door target. We also note any conditions that could change the price - inaccessible attic spaces, active rodent infestations, or asbestos-containing vermiculite insulation that requires abatement before we proceed.
- 3
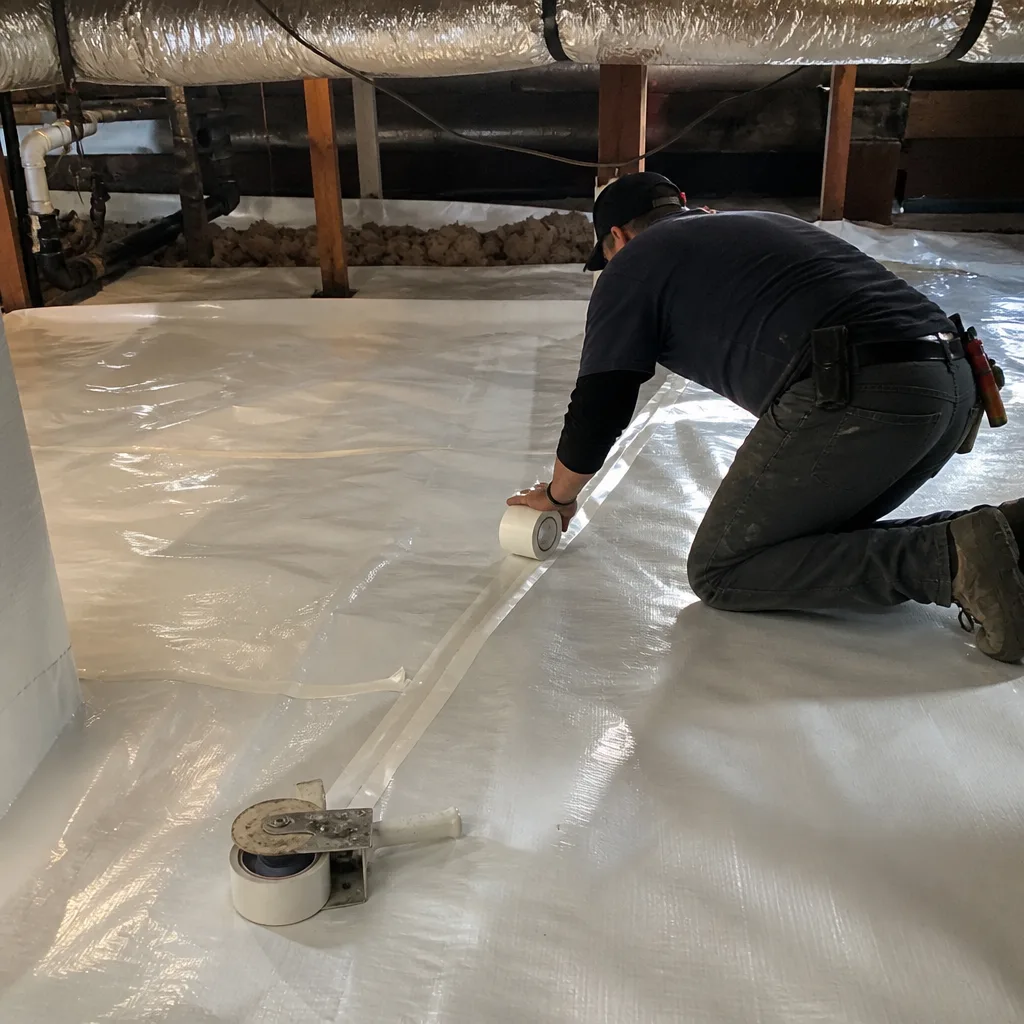
Air sealing and substrate preparation. We seal top plates, wire and plumbing penetrations, recessed can lights with fire-rated covers, and chimney chases with firestop sealant. The attic floor gets vacuumed of debris; rafters or roof deck get wiped clean for foil adhesion. In Mountain View’s Eichler and similar flat-roof homes, this step often takes longer than the radiant barrier installation itself - and skipping it is why so many DIY radiant barrier jobs fail within two years.
- 4
Radiant barrier installation with infrared verification. We install perforated foil to rafters with specified staple spacing, maintaining required air gaps and clearance from combustion vents and flues. As we work, we use an infrared camera to verify that reflective surfaces are actually reducing radiant heat transfer - not just installed. Photos of every bay go into your Documented Photo Record, delivered before the crew leaves.
- 5
Final blower-door test, documentation, and walkthrough. On air-sealing-inclusive jobs, we run the blower-door again and compare to our baseline. You receive the photo record, the before-and-after numbers, and a written completion certificate with our 365-Day Done Right Promise. We walk the attic with you if you’re present, or send a video summary if you prefer. Payment is due only after you’ve reviewed and accepted the documentation.
How Much Does Radiant Barrier Installation Cost in Mountain View?
Wondering how much Radiant Barrier Installation costs? A typical attic job in a Mountain View single-story home of 1,200-1,800 square feet runs $1,800-$2,800. Two-story homes with complex rooflines, or flat-roof Eichler-style homes requiring specialized perforated foil and enhanced ventilation, typically range $2,800-$4,200. These prices assume accessible attics with standard pitch; steep cathedral ceilings or crawl-space-only access can add 15-25% for safety equipment and extended labor time.
Several factors move the price within these ranges. Roof pitch matters - steeper rafters take longer to staple and require more ladder moves. Existing insulation condition determines whether we can install over it or need to remove and replace; removal of contaminated or compressed insulation adds $1.50-$3.00 per square foot. Air sealing scope is the largest variable - a home with 40 can lights and multiple chimney chases requires more material and labor than one with surface-mounted fixtures and minimal penetrations. Ventilation upgrades, if needed, run $400-$1,200 depending on soffit vent count and ridge vent linear footage.
To avoid overpaying, get any competing quote in writing and bring it to us for a Free Second Opinion - we’ll read it with you line by line, identify scope gaps or excessive padding, and give you our assessment with no obligation to hire us. Our written price includes all labor, materials, disposal, the Documented Photo Record, and the 365-Day Done Right Promise. No change orders unless you add scope.
Radiant Barrier Installation Near Mountain View - Our Service Area
We complete radiant barrier installations throughout Santa Clara County and southern San Mateo County, with typical crew response times of 30-60 minutes to Los Altos, Sunnyvale, Palo Alto, Los Altos Hills, East Palo Alto, Cupertino, Santa Clara, Menlo Park, Newark, Atherton, and Portola Valley. Our Mountain View base puts us within 20 minutes of most Peninsula and South Bay locations during normal traffic. We do not charge travel fees within this service area; your written price is your total price.
Serving Mountain View, CA - Our Local Coverage Area
We’re based in the Mountain View area and know this community well. Use the map below to see our service coverage - if you’re nearby, we can almost certainly help.
Frequently Asked Questions - Radiant Barrier Installation in Mountain View
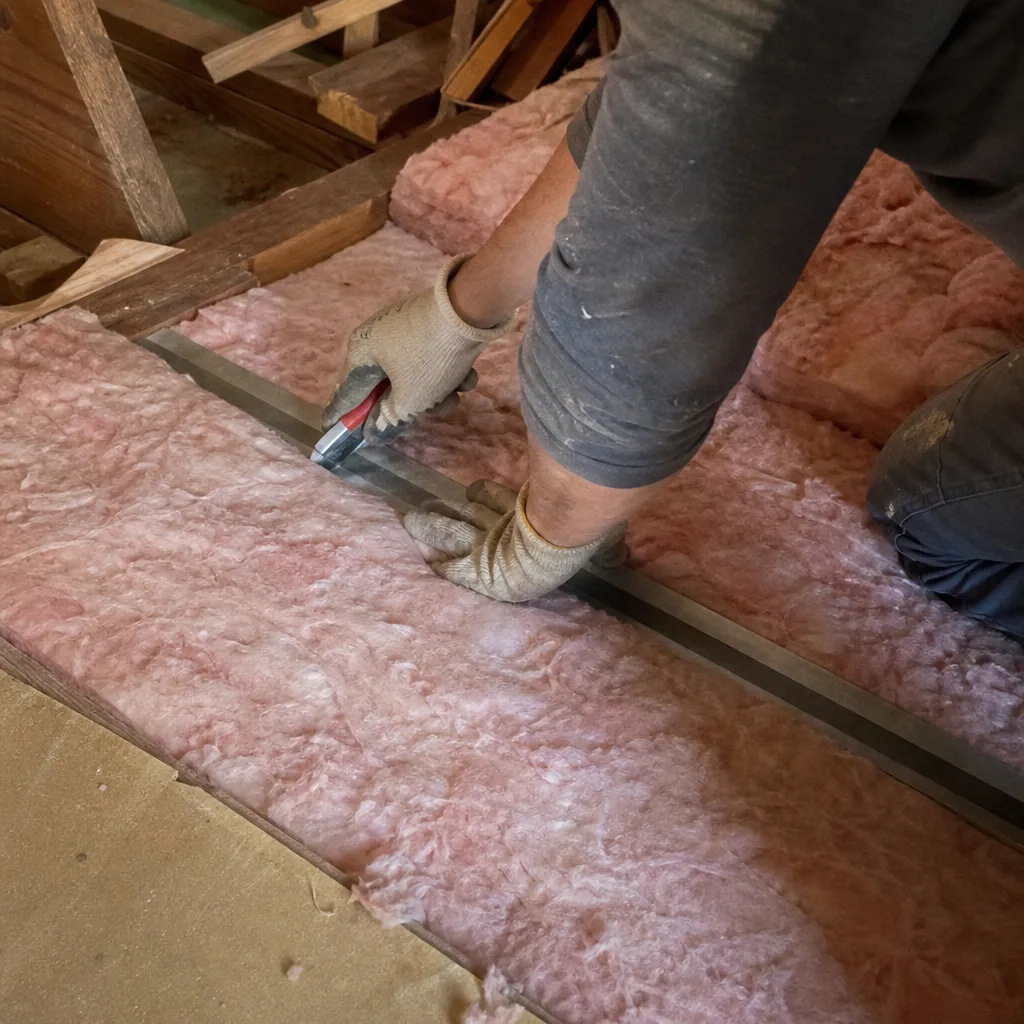
Radiant barrier installation is the process of adding highly reflective material - typically aluminum foil - to your attic’s roof deck or rafters to reduce radiant heat transfer from the roof into your living space. Unlike insulation, which slows conductive heat flow, a radiant barrier reflects infrared radiation before it can warm your attic air and ceiling drywall. In Mountain View’s climate, this matters most during our dry, sunny summers when roof surfaces can reach 160°F and radiate that heat downward for eight hours straight.
Most residential radiant barrier installations in Mountain View are completed in one day, with crews on site 4-6 hours for a typical single-story home. Two-story homes, flat-roof Eichlers, or jobs requiring significant air sealing or insulation removal may extend to a second day. We schedule start times between 8 AM and 9 AM to complete before afternoon heat makes attic work unsafe; your written scope specifies the expected duration.
Radiant Barrier Installation in Sunnyvale and Mountain View typically costs $1,800-$4,200 depending on home size, roof complexity, and whether air sealing or insulation work is included. A basic single-story attic with good access and minimal prep work falls at the lower end; flat-roof homes or those requiring insulation removal and replacement fall at the higher end. Call (669) 259-0406 for a written price before any work starts - estimates are free, and we publish our line-item scope so you can compare apples-to-apples with any competing quote.
Yes - we install, repair, and replace radiant barrier products from Owens Corning, Johns Manville, Knauf, and Rockwool, and we can work with any other manufacturer’s materials as well. Our specification is based on your roof type and performance goals, not brand exclusivity. If you have an existing radiant barrier that’s torn, delaminated, or improperly installed, we’ll assess it and recommend repair or replacement with documented photo evidence.
We answer calls 24/7 and can typically schedule urgent radiant barrier work within 24-48 hours for situations like exposed roof decking during an active re-roofing project, or failed radiant barrier creating dangerous attic temperatures that threaten HVAC equipment. True emergencies in this trade are rare; most clients schedule 1-2 weeks out. When urgency matters, we prioritize based on project risk - a roof open to weather gets crews before a comfort complaint - and we communicate timeline clearly when you call (669) 259-0406.
All radiant barrier installation is covered by our 365-Day Done Right Promise - if it’s not done right, we make it right, with no deductible or service fee. This is backed by a written warranty delivered before work starts under Haven Standard Clause 1. Manufacturer warranties on foil products vary by brand and typically cover material defects for 10-20 years; we register these on your behalf and include the documentation in your job file.
Clear a path to your attic access and remove any stored items you need from the attic space 24 hours before our arrival - we’ll need the floor area clear for staging and the access path unobstructed for material transport. If you have pets, secure them away from the work area; our crews carry background checks and uniforms, but unfamiliar people in the home stress animals. We bring drop cloths, shoe covers, and HEPA vacuums; you don’t need to cover furniture or protect floors. After installation, we’ll review your Documented Photo Record and blower-door numbers with you before collecting payment.
Schedule Your Radiant Barrier Installation Service in Mountain View Today
Call (669) 259-0406 now for a free estimate with a written price before any work starts. A live person answers 24/7 - no voicemail loops, no callback windows measured in business days. We’ll schedule your assessment, run the blower-door test if air sealing is part of your scope, and deliver a flat-price proposal under Haven Standard Clause 1. Every job closes with a Documented Photo Record and our 365-Day Done Right Promise. No obligation until you accept the written scope.
Written by Wes Okafor, Owner at Envelope Insulation Co., serving Mountain View since 2016.